CROSSDRESSER FINGERNAILS
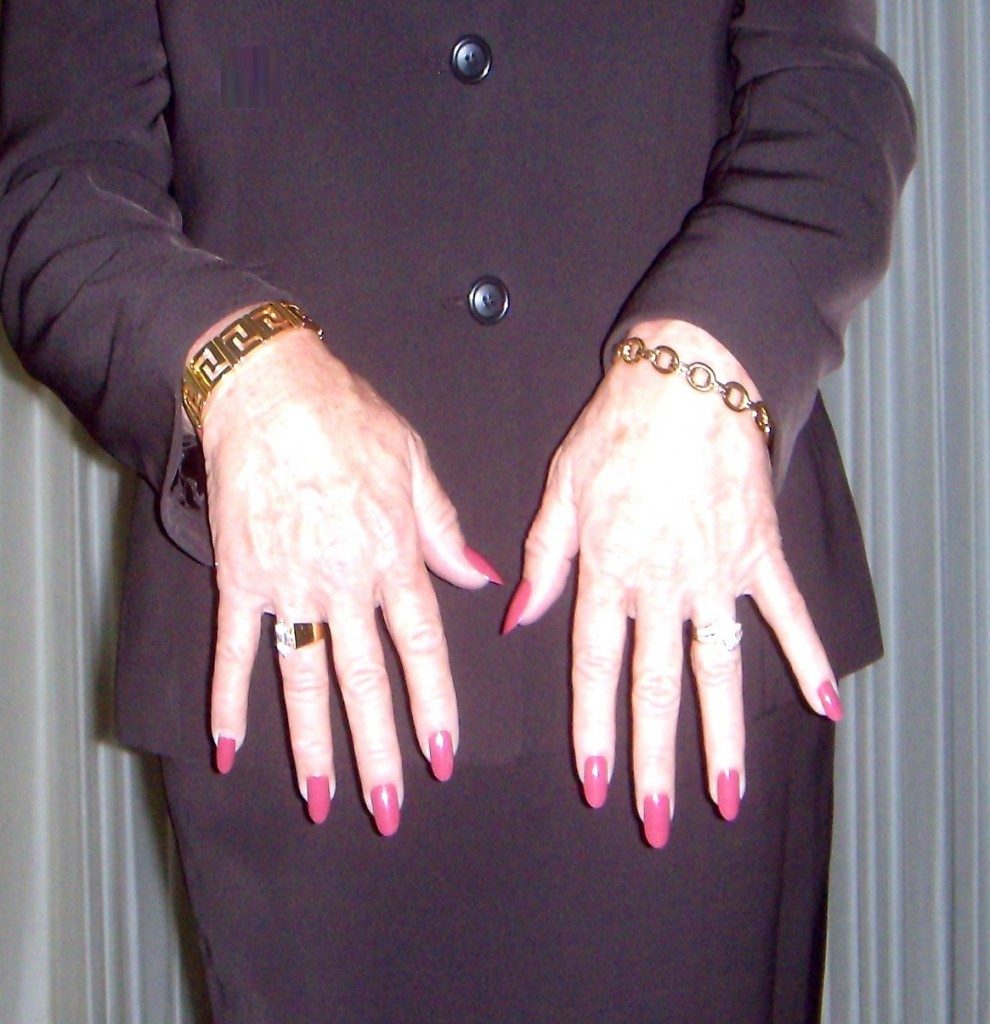
Crossdresser fingernails are an important part of your feminine presentation. Very few of us can keep nails long and painted all of the time so artificial nails have to do. They are already painted mostly and readily available online or in drug stores such as Walgreens and other stores. The downside for many of us is they are sized for women with smaller hands. The thumb never fits so I get mine from Talon Nails online because they come in larger sizes.
I particularly like the fact that the number which designates the size is molded into the nail. It is at the base instead of the tip. Other nails that I ordered by size number is on the tip which gets trimmed off. A crossdresser fingernail should be reusable so you don’t want to guess at the size when you reuse them.
TALON CROSSDRESSER NAILS
The wide ranges in size Talon offers allow me to perfectly match my own nail width for a more natural look. They come either painted or unpainted which is what I use most of the time. That way I can do a French Manicure or a special color I want. Crossdresser fingernails also come extra-long so you can trim them to your desired length.
The longer the nail the thinner your fingers will look but, they are harder to keep on. The length acts like a lever prying them off before you are ready. Car door handles are a big problem in addition to reaching into your purse.
CROSSDRESSER’S FINGERNAIL LENGTH
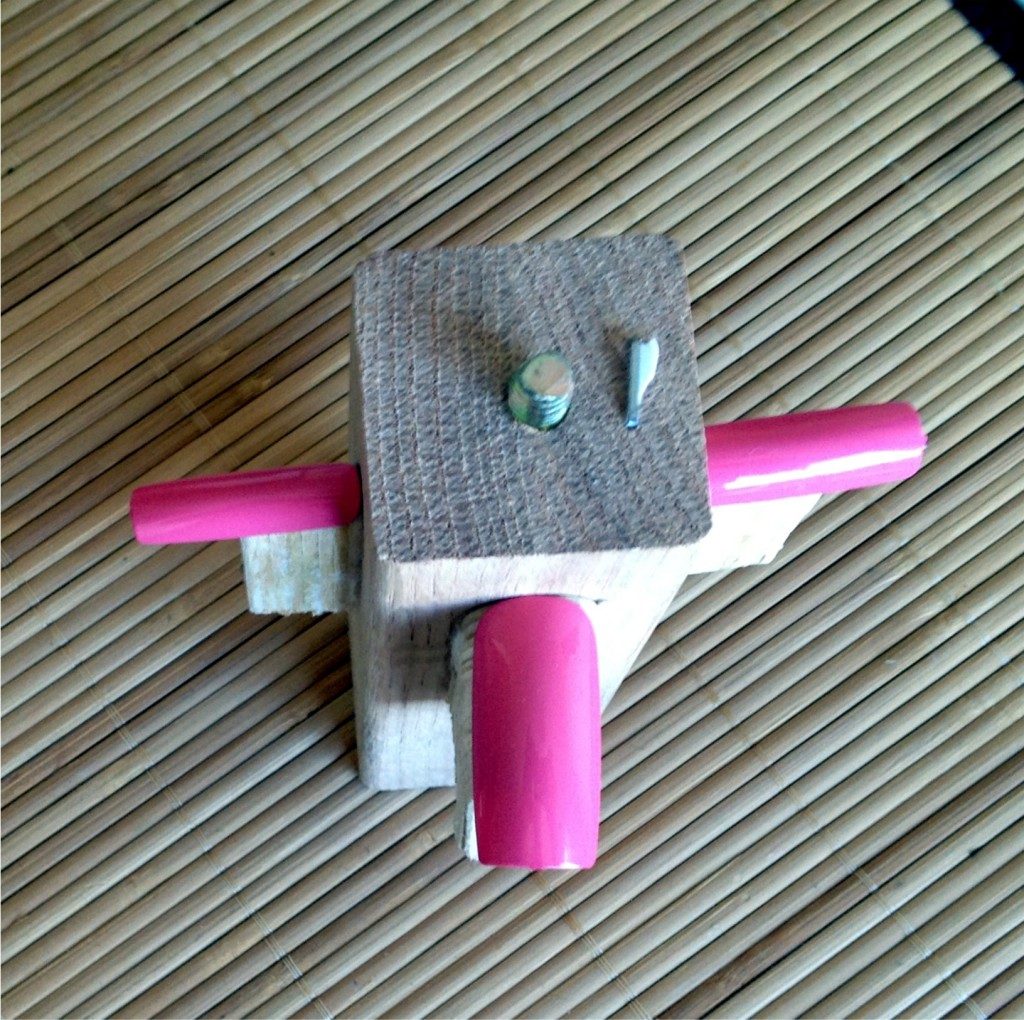
I have found that the most practical length for crossdresser fingernails is about ¼ inch beyond my fingertip. The length is an important part of your feminine presentation.
I made a gauge to make each nail length is consistent. This allows me to always have a uniform look along with having spares in case I lose one by accident.
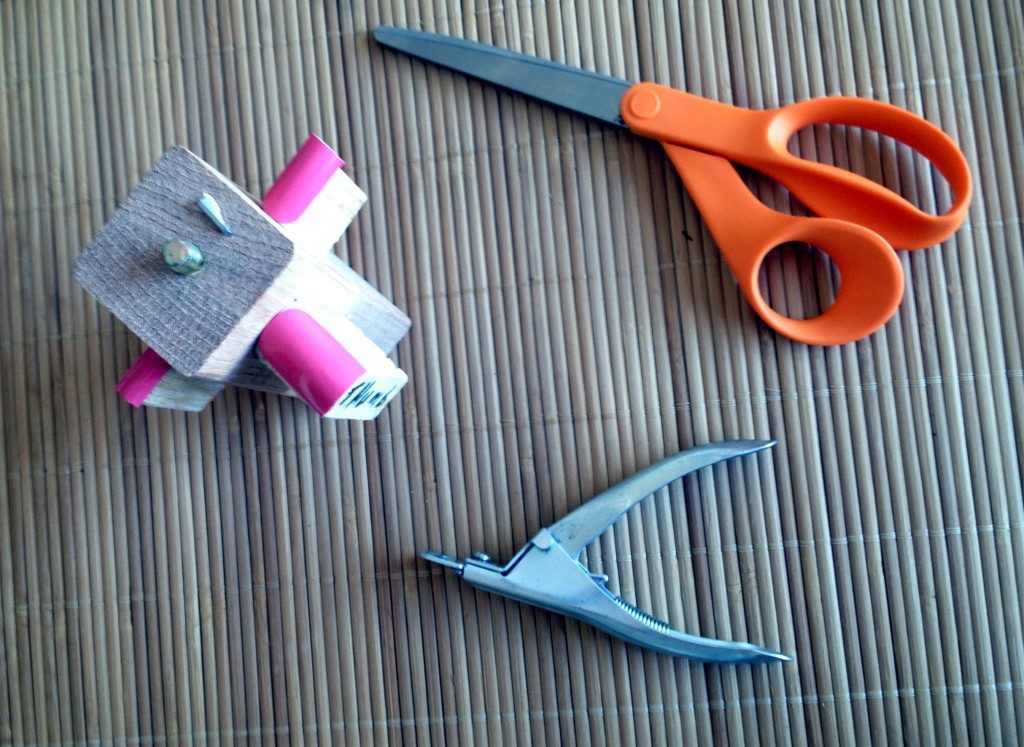
The nails can be cut to size using either scissors or the special nail clipper available at beauty supply stores. I recommend the clippers because they have a slot that they nail goes through. It will give a much more uniform cut.
PAINTING
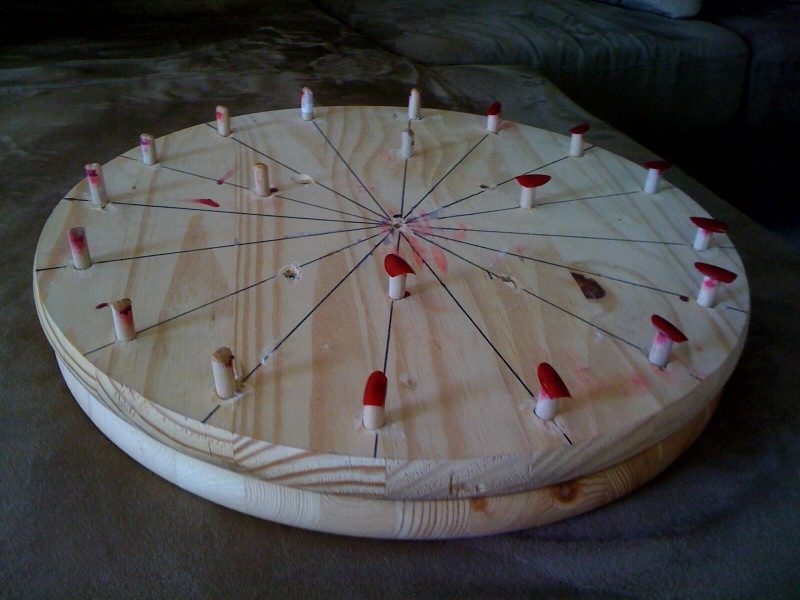
To help in painting my crossdresser fingernails I made a lazy Susan. Then drilled holes for 1/4 inch dowels for the fingers and 1/2 inch for the thumbs. I sanded them so they are rounded on top to make them fit the underside of the nail. The smaller dowels for the fingers go on the outer edge of the wheel and the larger for thumbs toward the center. Placing two-sided tape or the press on nail tabs on top of the dowel will grip the bottom of the nail so it stays put while you paint. Press the nails firmly onto the dowels and then just rotate the wheel in front of you while you polish.
After two coats of polish followed by a clear topcoat and drying overnight, they are ready to wear.
FEBRUARY 2023 UPDATE
Thanks to my wife buying a gift my crossdresser fingernail process has been simplified and improved. I still shape my nails as before and place them on the Lazy Susan but now I paint them with 3 coats of Orly Beverly Hills French Manicure.
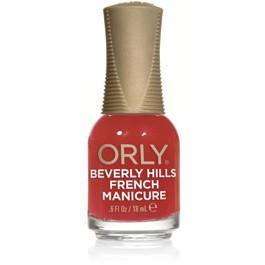
The unpolished nails that I but from Talon are an ivory color so they need the Orly polish to give them a natural nail look.
My wife bought me a package of COLOR STREET FRENCH NAIL STRIPS.
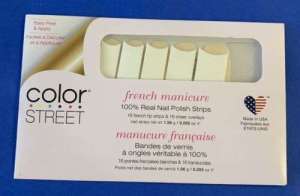
The process is very simple with no mess or cleanup. The package comes with an assortment of white strips that are curved at one end. They are made from nail polish and you place curved end towards your palm. Once aligned you press it onto your nail then remove the excess material. It takes a little practice but once you get the hang of it the look is great. Then you take the clear strips out of the package and smooth it over the entire nail. trim the excess material from around the nail and your done.

One thing I really appreciated is if you make a mistake like I did when the clear strip had a fold in it. I could not get it to smooth out so I shaved it off with a razor blade leaving an uneven area. To fix it I applied a generous coat of my Orly clear topcoat which filled it in perfectly. The clear strip in the package is made from nail polish also so it melts right into the surface.
Custom crossdresser fingernails that fit!
ATTACHING THE NAIL
I tried a crossdresser fingernails process that one of my CHIC sisters uses and it far surpasses my 1970’s era contact cement technique. I now use Elegant Touch press on gel nail tabs instead of my contact cement process. It is much easier and does not have the drawbacks of contact cement has removing it from the nails.
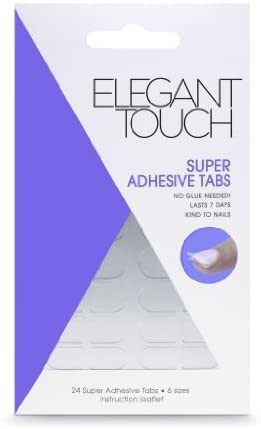
They are easy to put on and stay on better than my old crossdresser fingernails process. You can leave them on for days at a time then just pry them off when done. The gel tab is easy to get off both your nail and the artificial ones.
ATTACHING THE NAILS
The very last thing that to do before going out after hair makeup, and everything else is my crossdresser fingernails. To put them on wash your hands then clean the underside of the nail and the top of your nails with 99% alcohol and let dry. I then follow the instructions that come with tabs. I peel the gel tab off the sheet and place it on my nail. I press down on the protection cover tab all over making sure it is firmly attached. Then I pull the protective cover off and press the artificial nail onto the gel tab. I continue to press around the nail making sure it is secure.
REMOVING THE NAILS
To remove the crossdresser fingernails , I pry the nail off with gentle steady pressure using tweezers working around the edges. You can clean the gel off your nail by just rubbing your finger over the gel rolling it off the nail. Then use them again by using alcohol to remove any residue.


Hi Micki,
Lot’s of great advice on your site. I am a friend of Paulette and hope to be able to attend at least a couple of days of DLV this fall so maybe I will be able to meet you there. One question, if you would allow regarding electrolysis. I have thought about doing that on my face but am concerned that it would make me look to feminine in my male mod. Is that an issue I should be concerned about?
Hugs,
Michelle
Hi Michelle,
It’s been over 20 years since I have done either process, so my info is not going to be current. Technology in the beauty industry moves at a rapid pace because real women and ME are in a never-ending quest to look better.
Depending on your age and hair color its likely if you are over 40 people will only notice that you look better. I was motivated by a salesman who I had known for years was sitting across from me in my office one day. He was a light skinned guy with black hair his in the 60’s so was going gray/white mixed in with the black hair. I noticed his beard stubble was mostly white with black speckled throughout making his skin look smoother. I then started looking closer at older men I came in contact with and saw the same thing each time. I concluded that nobody is going to notice because just like them it will happen gradually over time. It’s just that in my case it will happen over much less time!
I am not a patient person, so I went with laser treatments at first which got much faster results in under a year. Because I was in the early salt and pepper phase with my hair the 5 o’clock shadow just became less noticeable. In your 20’s there is a definite contrast between your head hair and your beard which lessens as you get older.
Laser was not permanent in those days, so I touched up dark spots with Electrolysis a few years later. I recently purchased a NOON V2 Laser home treatment device recommended by Kandi of Kandi’s Land to work on some stubborn spots.
I found laser and electrolysis to be equal in pain experienced but, you endure less of it with laser because of fewer treatments.
OK, now for the short answer to your question. No, it will only make you look younger!
See you at DIVA.
Micki