REVISED AND UPDATED 6 / 21 / 2024
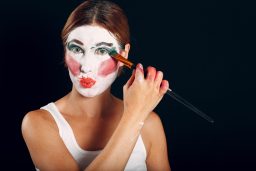
The number one thing that crossdressers are searching for on the internet is information about crossdressing makeup. Most everyone is concerned about the final result and ignore much of what it takes to achieve the best results.
Most people put foundation on first all over the face and in some cases the neck along with the chest. Then follow with eyes, lips, etc. I guess that’s because it’s called foundation so it should be on the bottom of everything else. For many years I did also until I discovered a method that reduced the time it took to get ready. The foundation we should be looking at is really the skin on your face. That is what we are going to apply the makeup on. The better the face surface you paint on the better it looks so preparation pays off.
MY CROSSDRESSING MAKEUP SYSTEM
My system for the crossdressing makeup process saves me time by getting the difficult stuff out of the way first. The difficult steps are typically where you make the mistakes that take time to correct or require starting over from scratch. This technique for crossdressing makeup process focuses on completing the eyes first which allows you to make corrections as needed. Once they are perfect you move on to the foundation and contouring which are easy, last. The jumping back and forth between steps is intentional and is where the time savings are achieved. Basically, instead of waiting for something to dry or set you jump ahead a step or two and do something else. Then you go back and finish the previous step.
What follows is what I do and why I do it.
MAKEUP FACE PREP
There are two parts to face preparation the first being what you do every day on an ongoing basis to maintain your skin quality. The better your skin looks the better your crossdressing makeup experience will be. To further improve your makeup outcome there are skin treatments available. Things like laser hair removal or electrolysis along with micro dermabrasion will create smooth skin with small pores that will make a big difference in your makeup. To keep it looking good daily sunscreen and moisturizer are a must and will allow you to use less foundation for a more natural look. It will also help you keep your pores small which is crucial to looking your best.
MOISTURIZING
The second part of face preparation is before you start getting ready to apply your crossdressing makeup. It can be done hours before you start getting your face ready by moisturizing it. There are other ways to prepare your face before makeup and my favorite is a micro dermabrasion facial which gets rid of dead skin, blackheads and super moisturizes your skin. My makeup always comes out better with the facial but if that is not in your budget or timeline. Clean your face well and super moisturize an hour before starting your makeup routine.
CROSSDRESSING MAKEUP ROUTINE
Crossdressing makeup is different from women because we typically don’t want our arched eyebrows to give us away when not crossdressing. Brow taping gives us a better result than women and it goes away the next day. While the moisturizer is soaking in I take my eyebrow pomade and draw some basic eyebrows on my face.
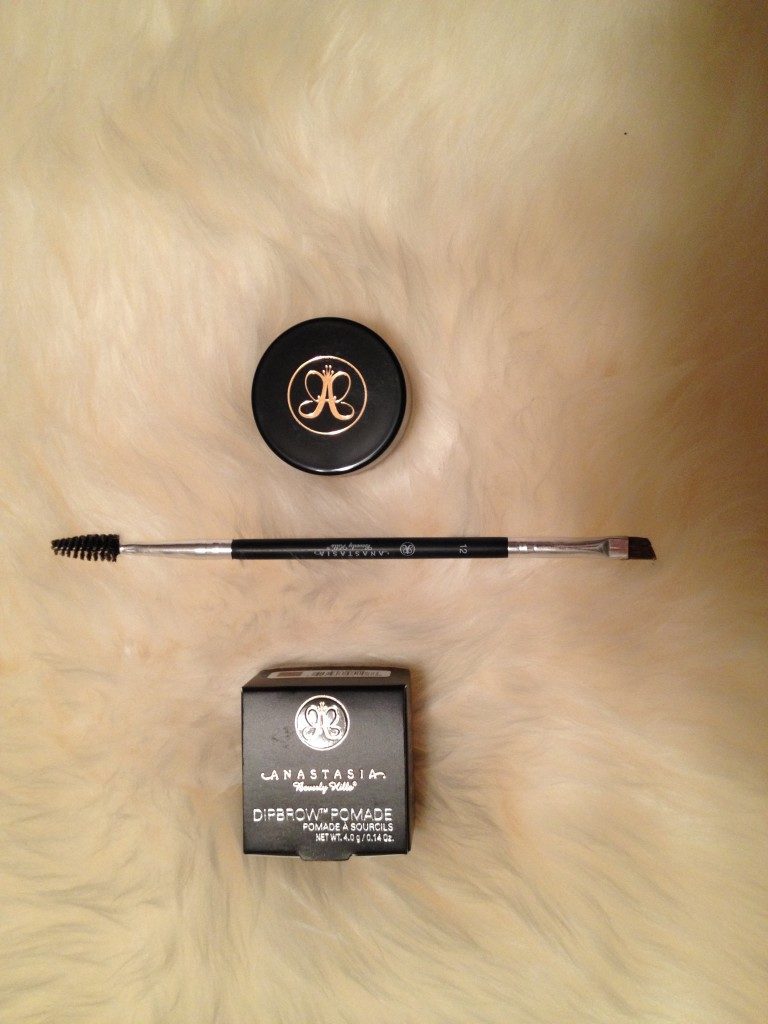
EYEBROWS
This is only being done so I can know where to create the arch for my feminine eyes. Once this is done I take my finger and pull up on my forehead skin just above the eye to find the best arch. That is where I will eventually use tape to pull the brow up. Next I clean the selected area with a cotton ball soaked in alcohol. I go from just above the eye up into my receding hairline.
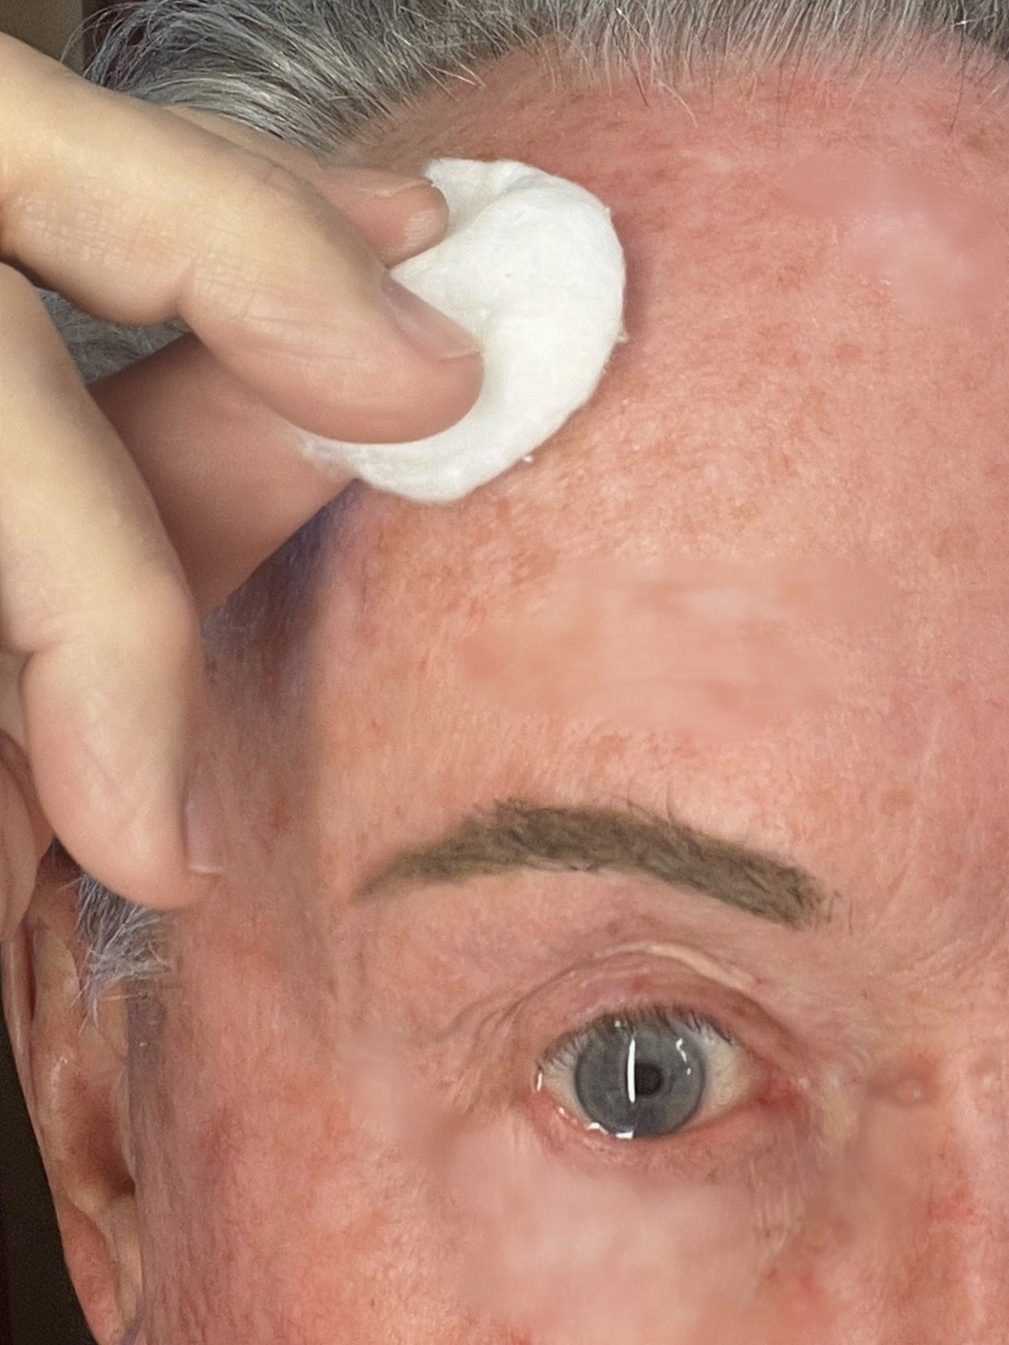
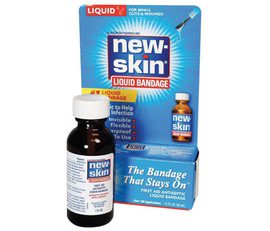
The alcohol will dry quickly then I follow with New Skin liquid bandage which gives me a dry surface to tape to. Any oil or perspiration that develops during my time dressed will be under the New Skin so not a problem.

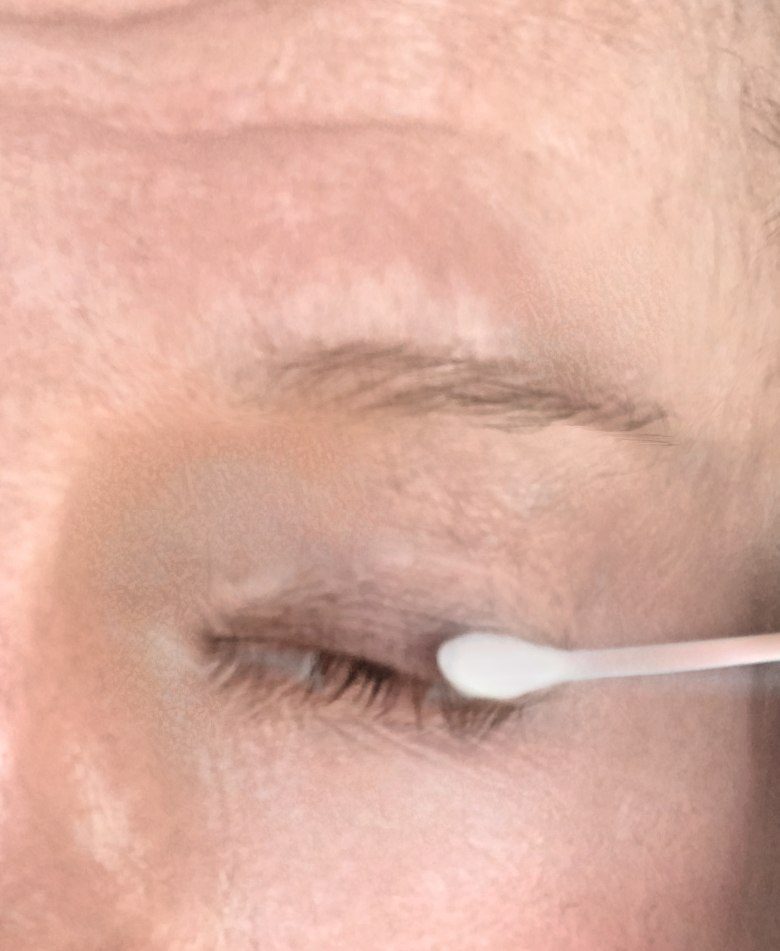
The New Skin dries in a couple of minutes but I don’t rush it and prep my eyelash surface while I wait. I clean the area above my lash line with a Q Tip dampened with alcohol. Make sure its only damp and not wet or it will burn your eyes. This is being done to give the magnetic eyeliner a good surface to stick to.
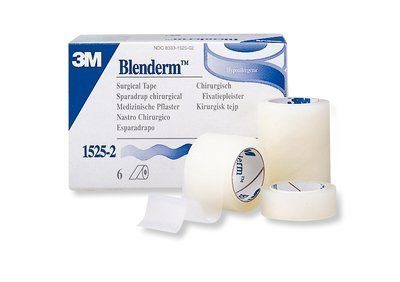
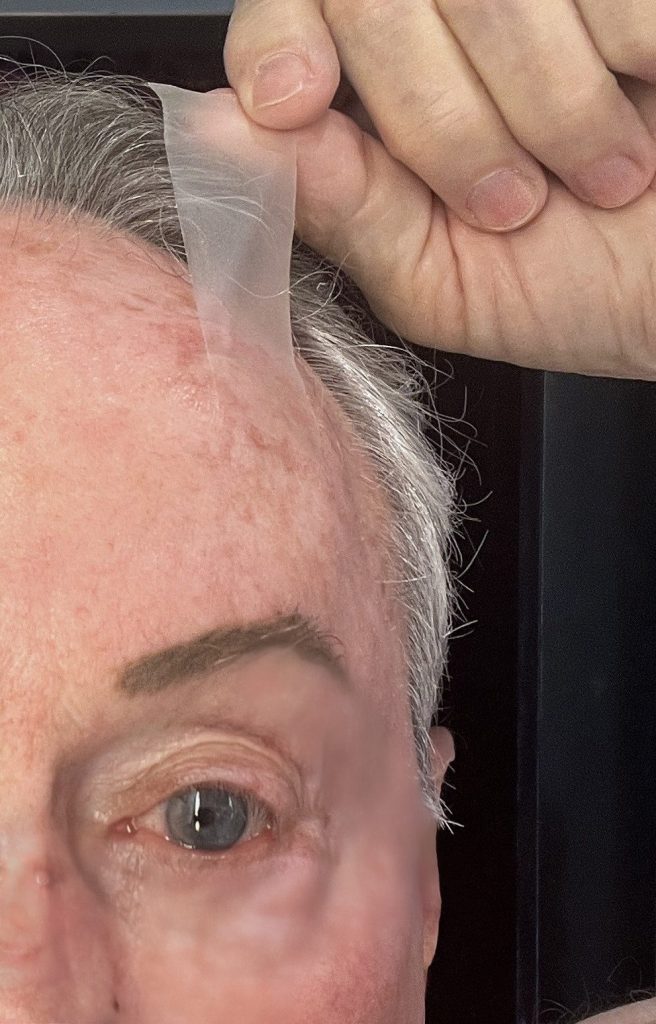
Now the New Skin should be dry and ready for tape which I apply just above the brow where I decided to pull up and create my arch. I cut a piece of 3M Medical tape about 3 inches long and place it above my brow.

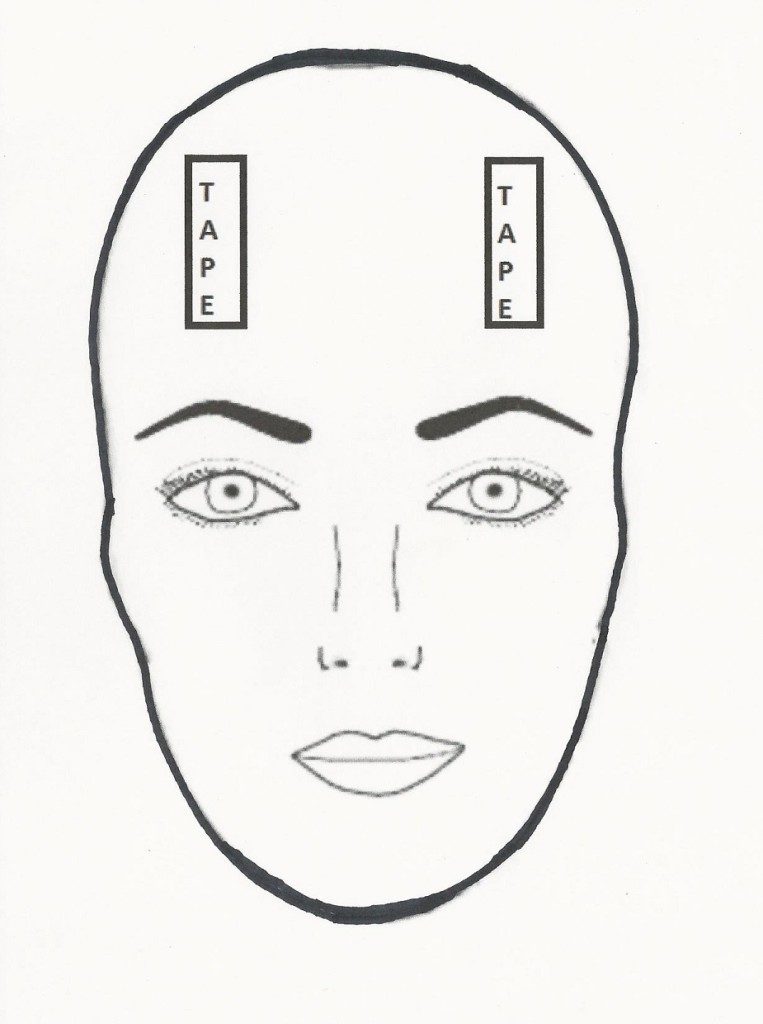
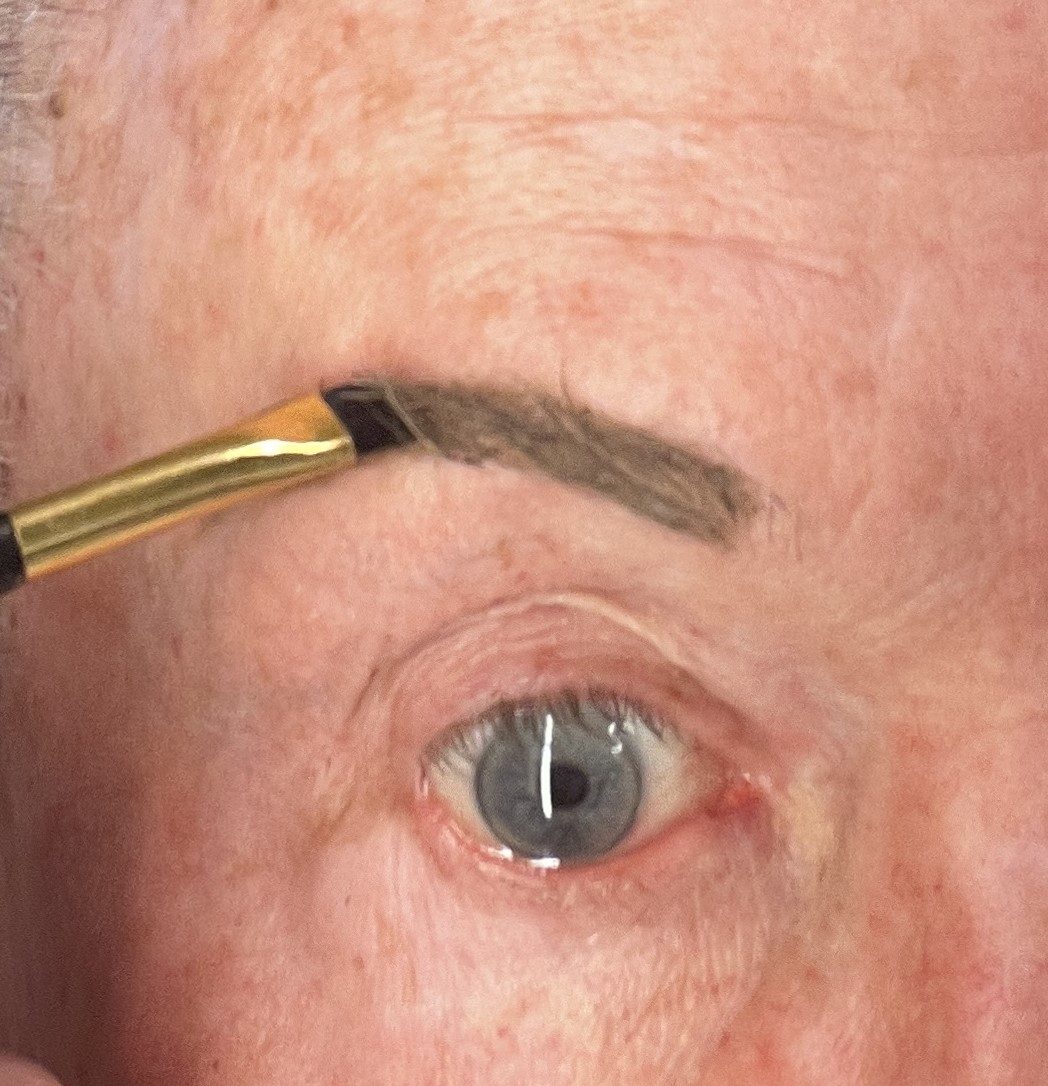
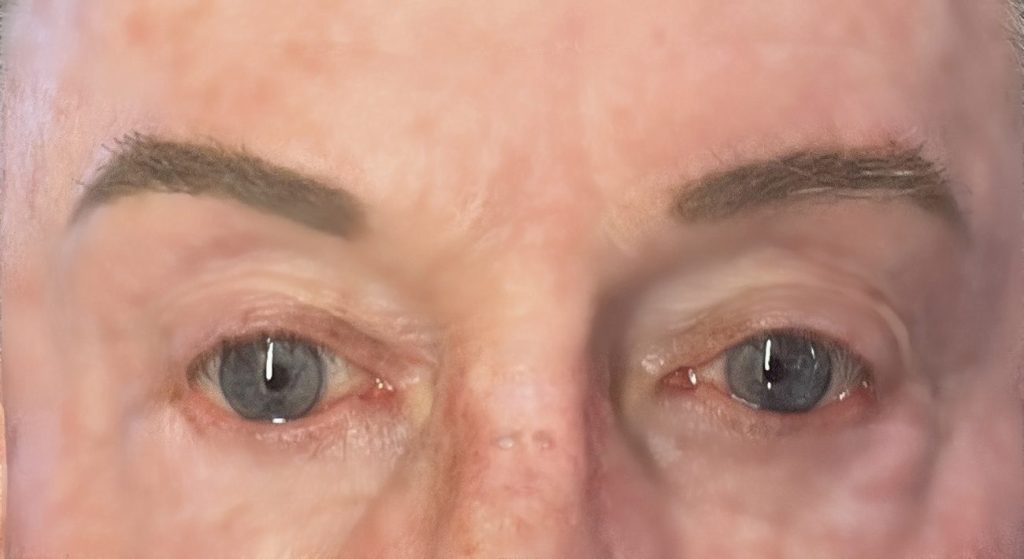
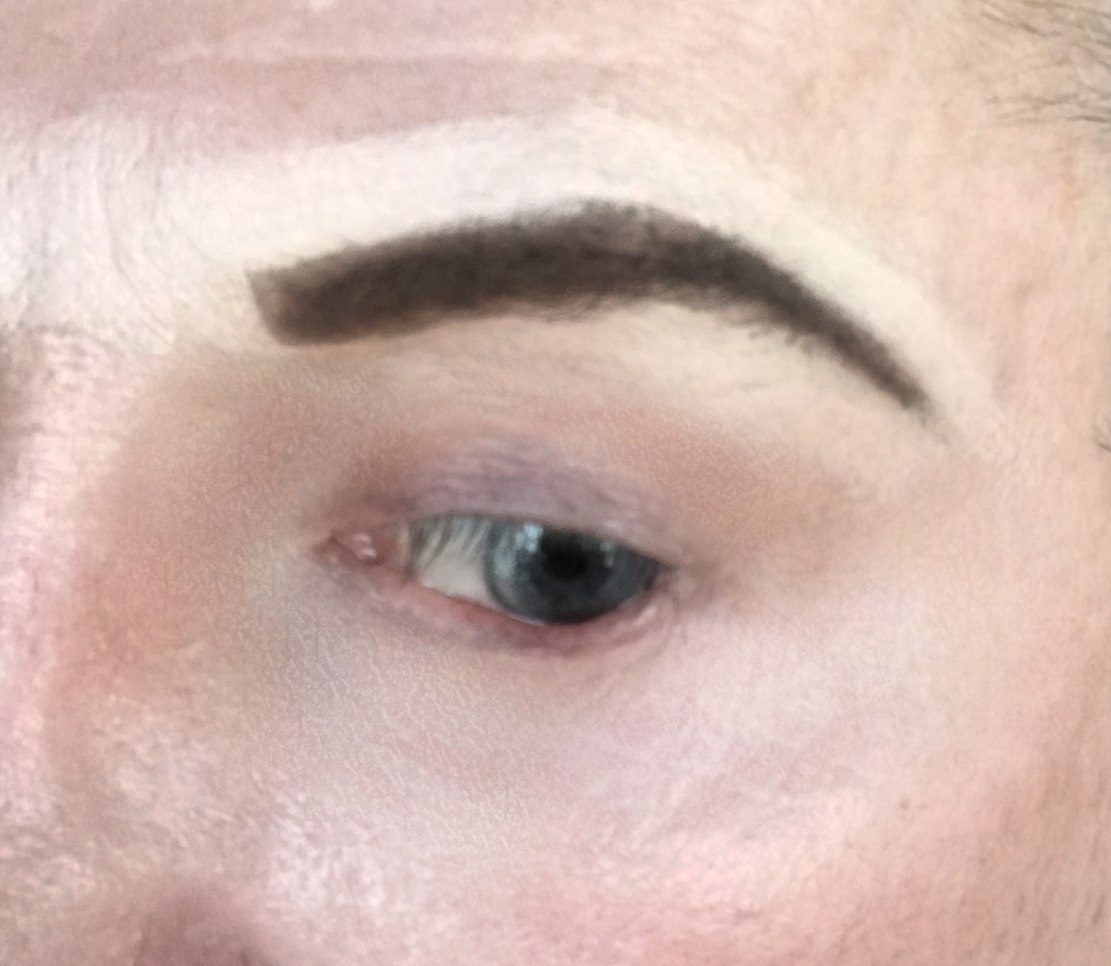
First look at your brows and see if they are even which is unlikely as one is usually shaped a little different. Notice the brow on the right is flatter than the other on the left.
You will need to place the tape in different locations in order to get identical arches. I gently pull up on the tape to form the desired location to form the arch.
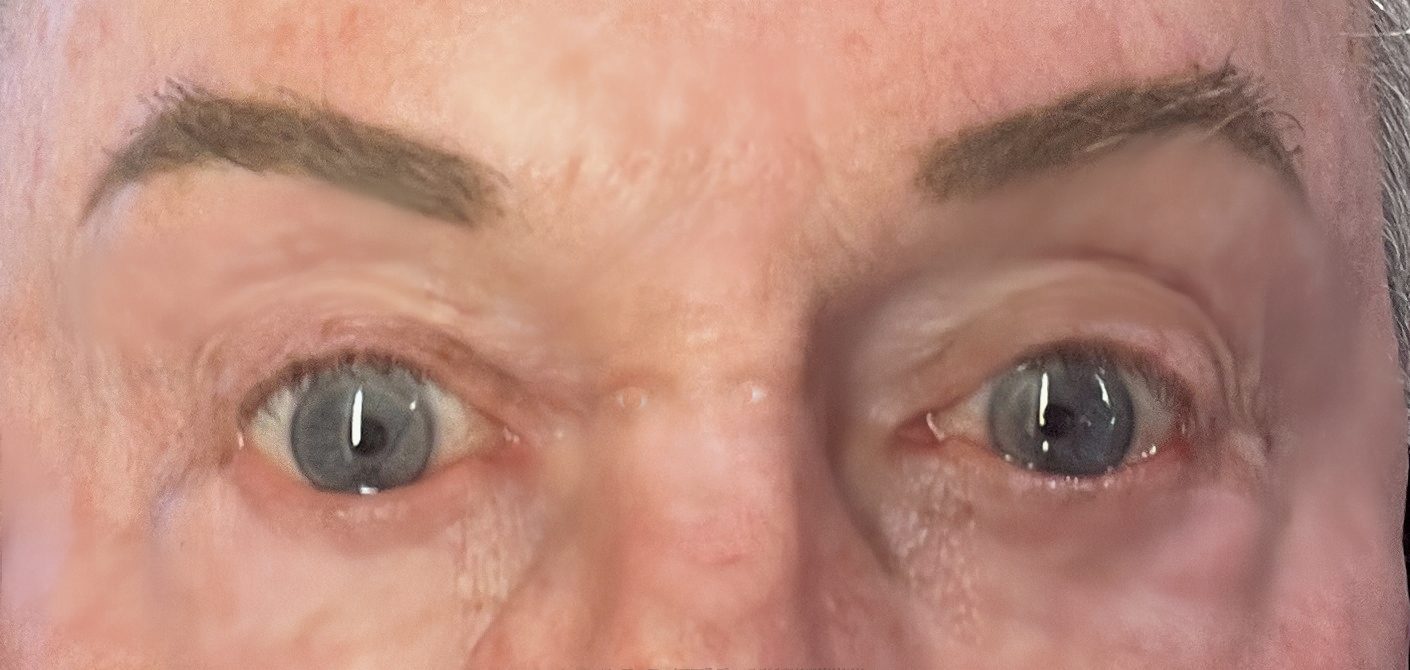
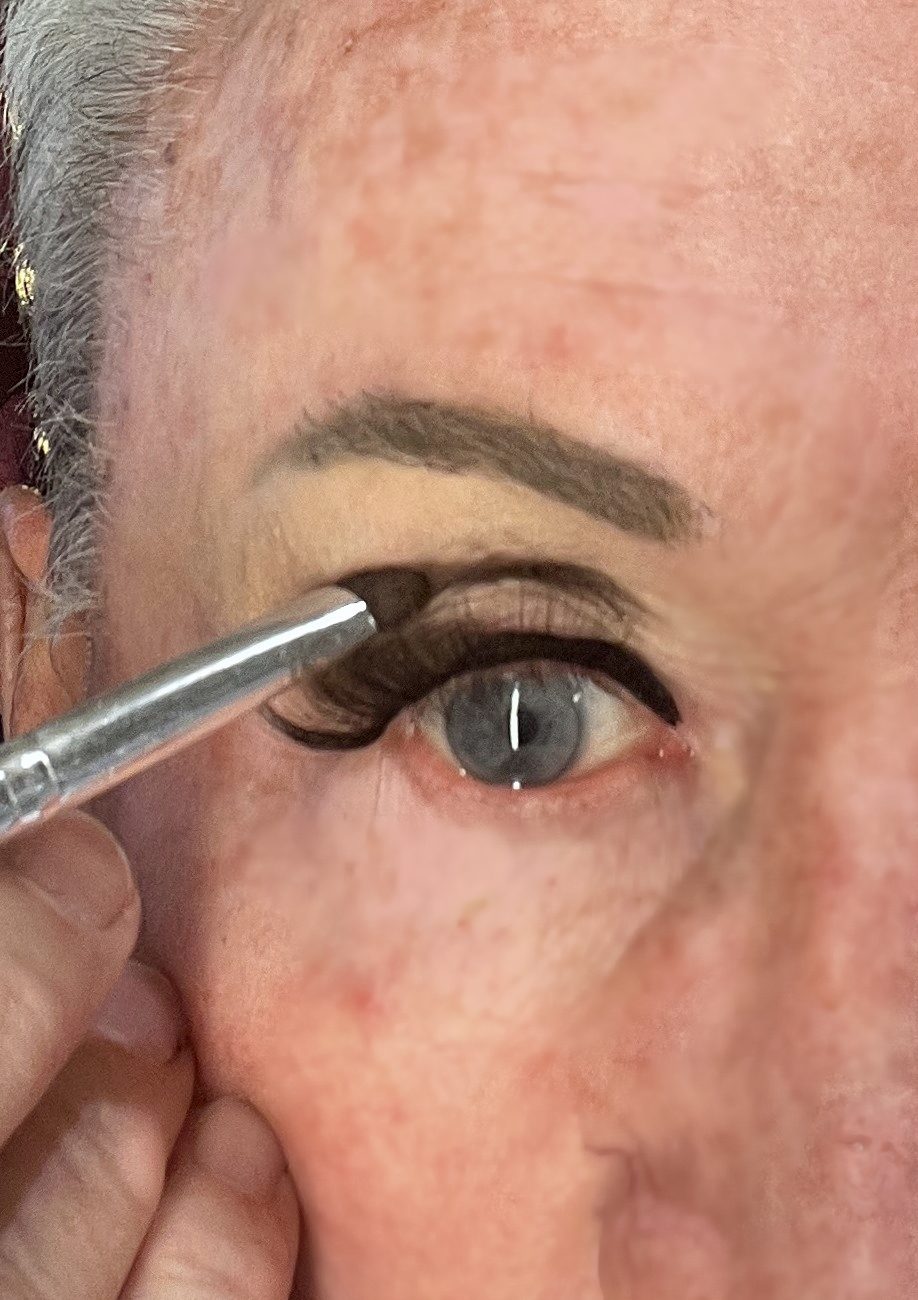
Now the magnetic eyeliner is applied with extra on the inner and outer corners to help the eyelashes hold better. I apply the eyeliner at this stage because if you have any loose skin on your upper lid you can get the liner on it which creates a mess.
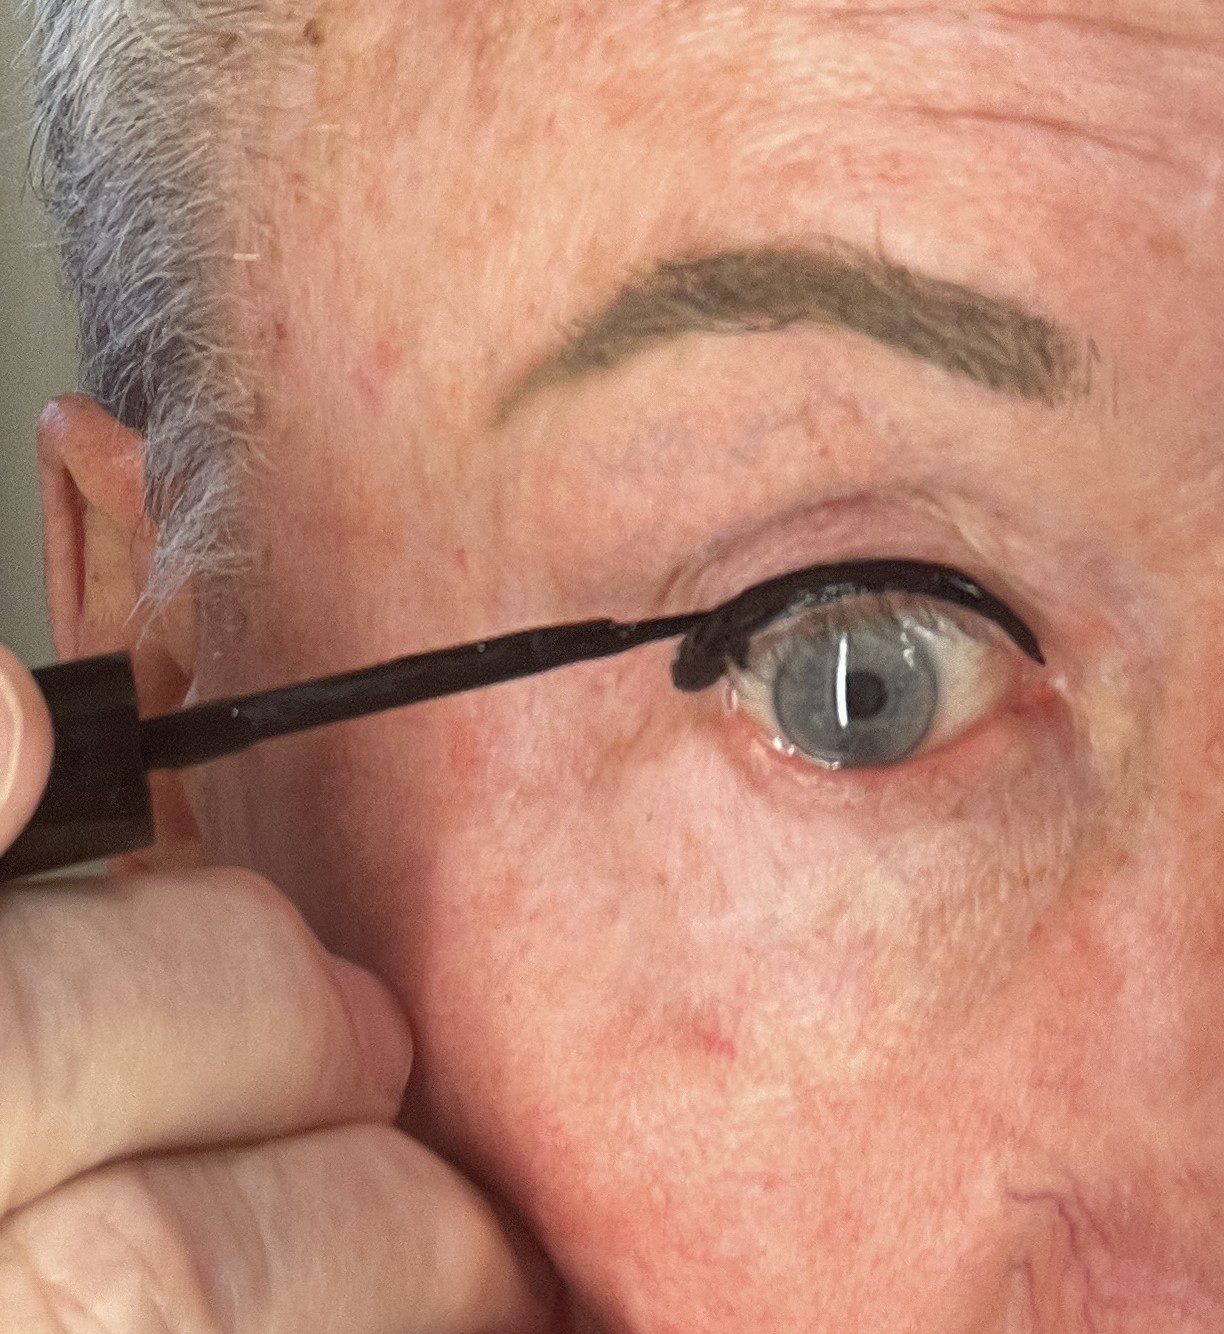
Although I paint the liner down into the inside of the eye I cut my lashes so they don’t go down that far. This is because that area flexes when I squint which is fairly often and the lash lifts sticking out noticeably. I cut the wider end of the lash right at the second magnet to keep the most holding power and it works perfectly.
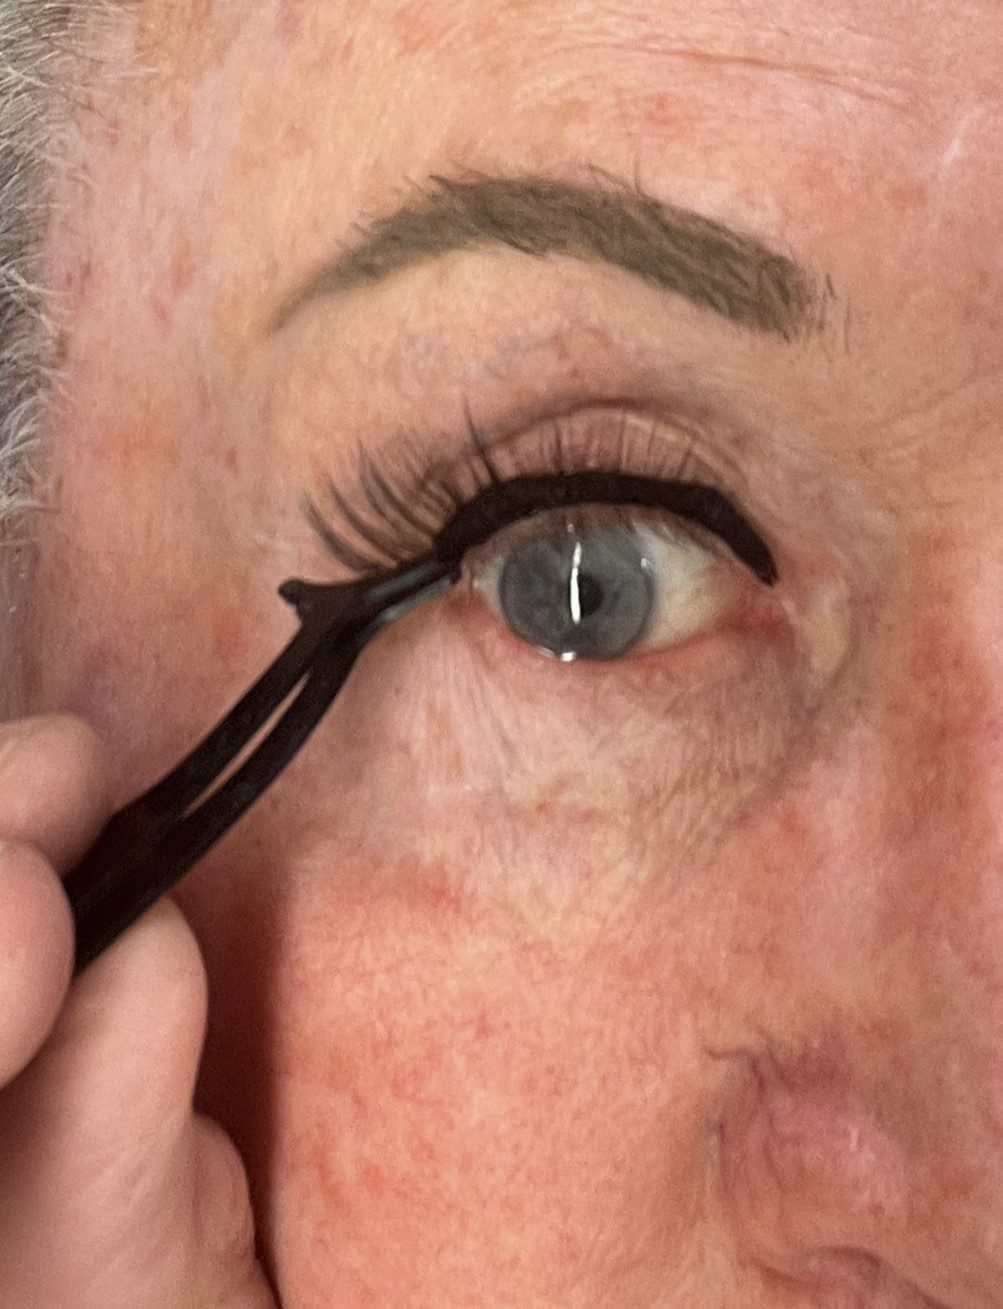
The magnetic lashes take a bit of getting used to because they don’t stick like the glue ones. If you tug on them they come off easily not pulling on your lid. However they go right back on and hold well enough to not fall off.
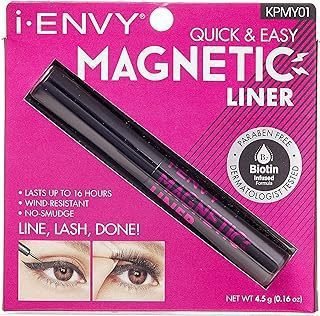
I changed brands of eyelashes from Amazon which work well but I quit using the crappy liner that comes with them. Once used the tube dried up after a couple of uses and sometimes never dried on my lid causing a gooey mess. I also had a problem on some when I opened for the 1st time it was already dried out even though sealed with plastic. I now buy i-ENVEY Magnetic liner that has a little ball in it to mix things up when you shake before using. I am still using the tube I bought in February.
I also switched to the DUOERLA Magnetic lashes that are slightly longer than my others but look much better.
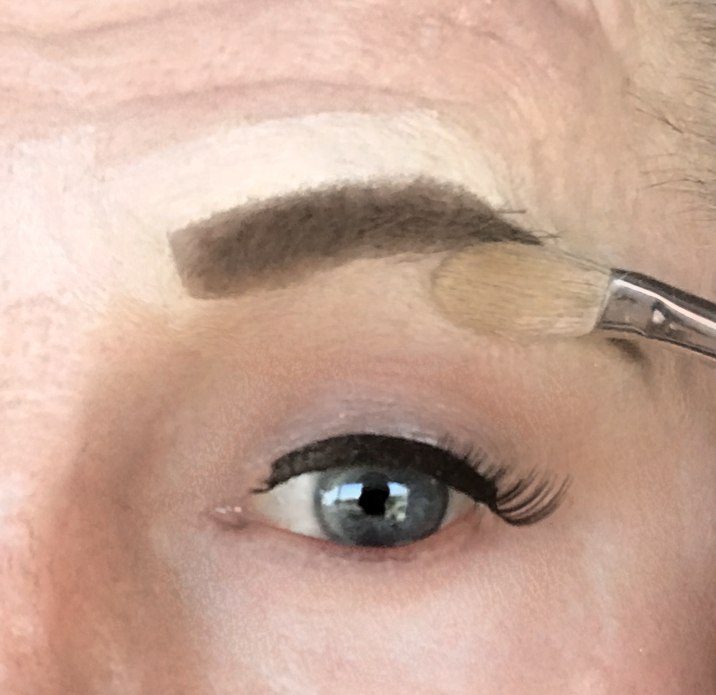
Next I move on to the eyeshadow portion of the process which is what I do but isn’t special so if you are happy with your present look you can do yours. I apply a thin coat of some Cinema Secrets makeup primer to my lids.
Now apply light cream concealer under the brow to define the shape. Then cream foundation to the upper brow to complete the definition of the brows. During this process you can cheat a bit and bring the concealer up into the brow hairs to create a more dramatic arch. You can also create thinner brows by using the glue stick to cover the brow hairs which may take several coats to accomplish.
Now apply your lighter eye shadow to the whole eyelid above the eyelashes and under the brow. You can use what ever you favorite product is. I prefer MAC for almost all of my makeup but do experiment somewhat.
Next using a different brush apply the darker shadow in the crease out to the corner of the eye. I apply it to the outer corner of my eye and halfway in.
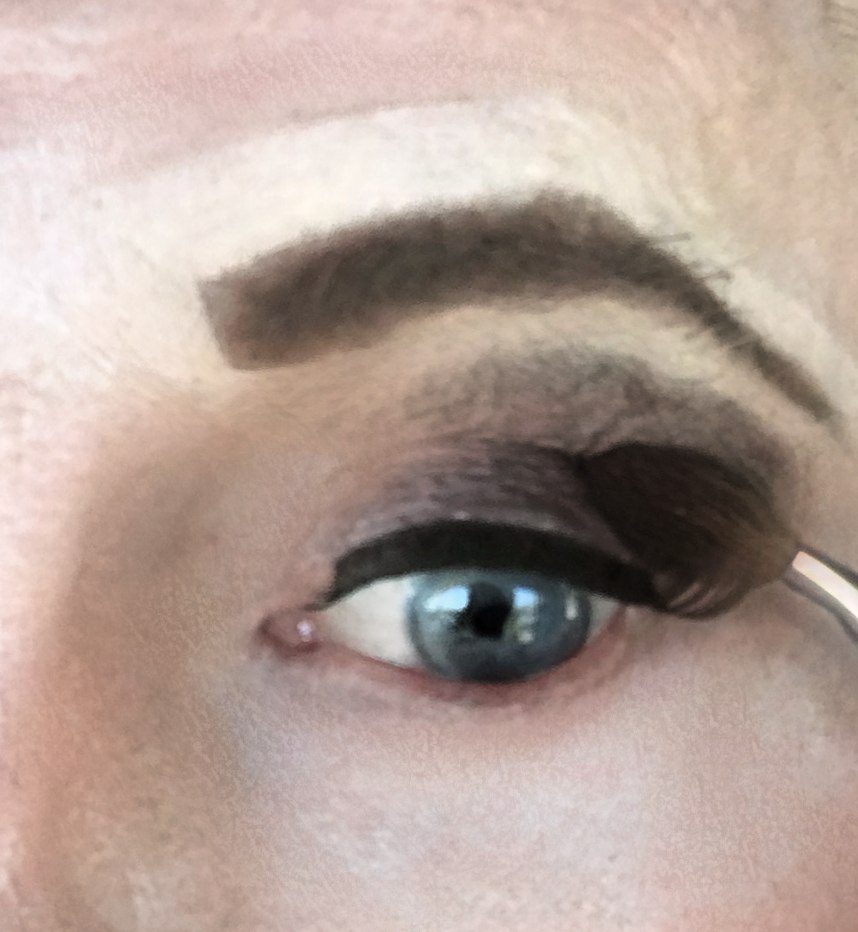
For a softer look I blend the eyeshadow shades for a softer look with a special blending brush. I dab along the line between the colors then follow with strokes until blended.

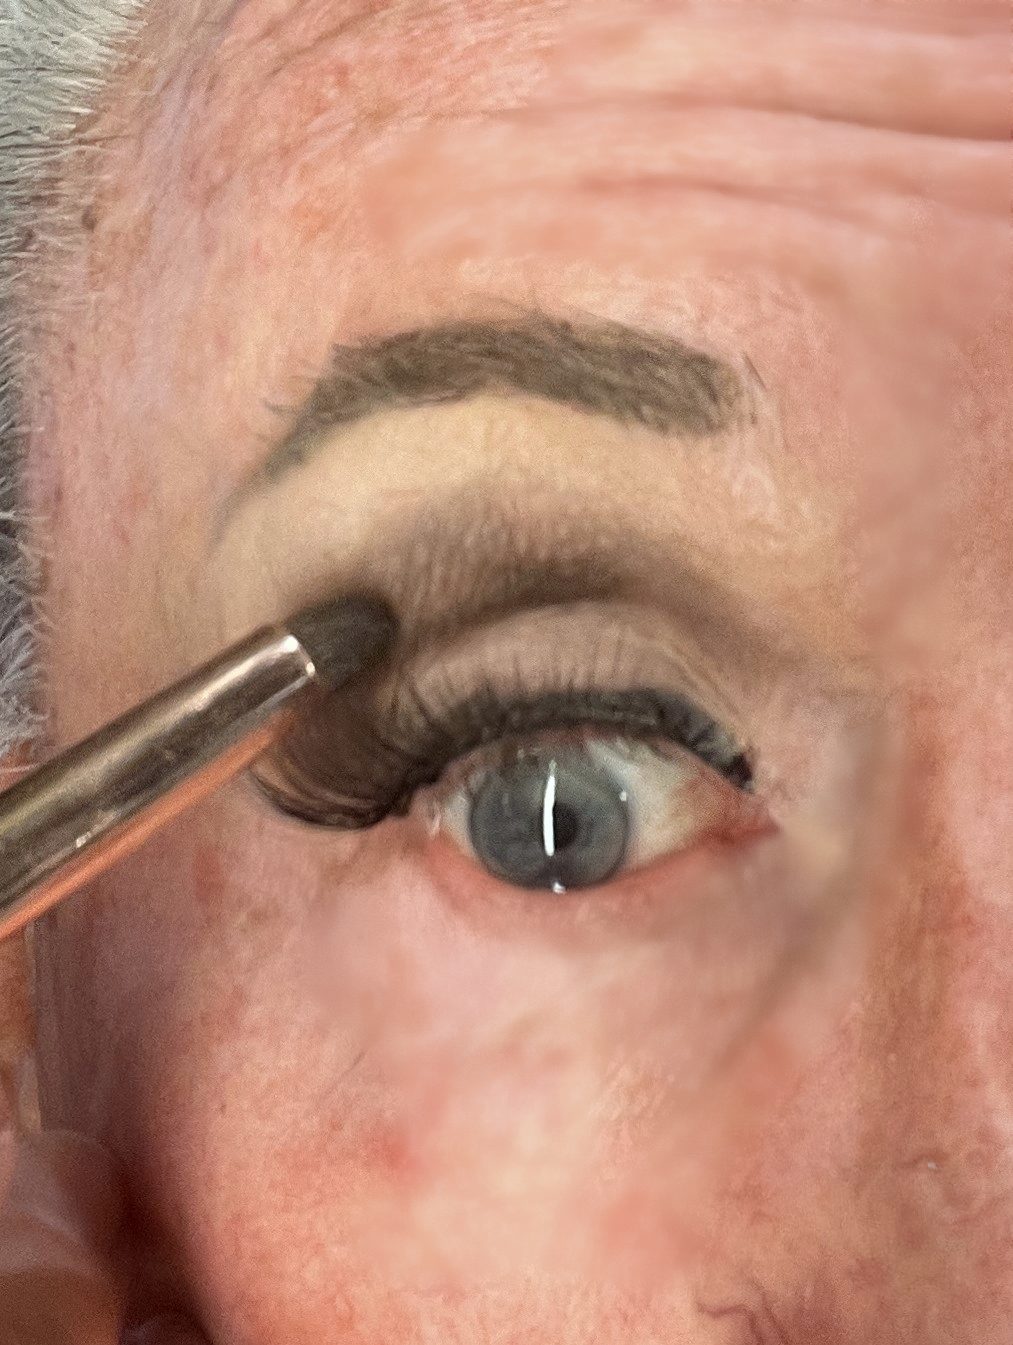
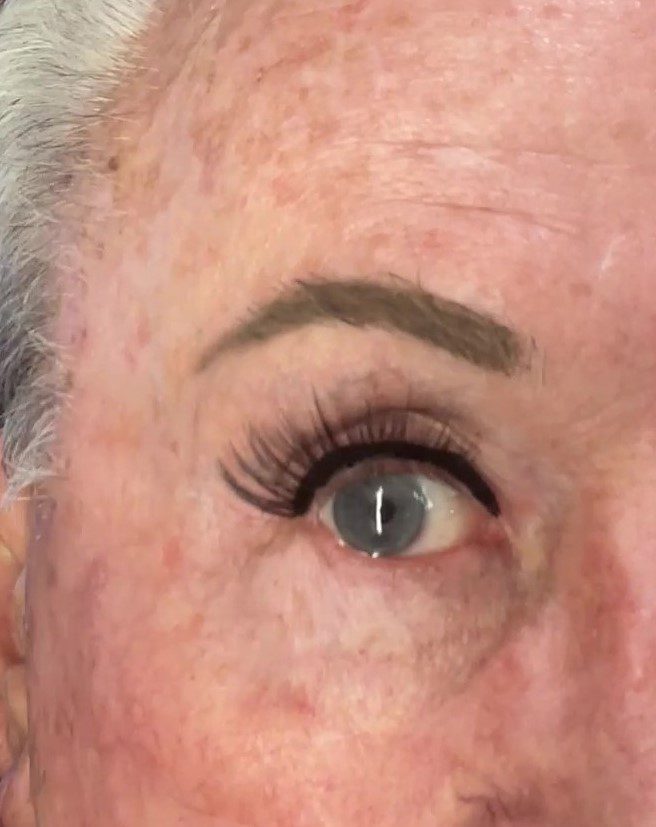
Apply mascara to your lashes as desired and check the eye area for any mistakes or smears. Make any corrections or changes that you want at this point.
When you are happy with your eyes take a folded makeup wipe and clean the area under each eye.
You will be cleaning up all of the eye shadow powder that inevitably drops onto you cheeks which is why I do the eyes first.
I use the folded wipe from the inner corner of my eye along then up toward my temple forming the angle of the shadow upward.
FOUNDATION
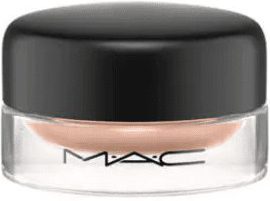
I have changed back to cream foundation after resolving the blending problems I had while contouring with powder thanks to Wayne Goss who is the best I have found working magic with cream.
The first step is to apply some moisturizer and let it absorb for a couple of minutes then follow with my MAC cream foundations. Then I follow with Cinema Secrets Foundation Primer which is the best I have found. They have worked with the movie and television studios for years and really know their stuff. It makes my face feel like silk.

Once the primer sets, I use MAC Paint Pot over my nose, below my eyes, and cheeks where pores are most detectable. It is designed as an eye makeup primer but it’s awesome for filling pores and smoothing out you face.
FOUNDATION
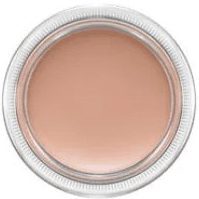
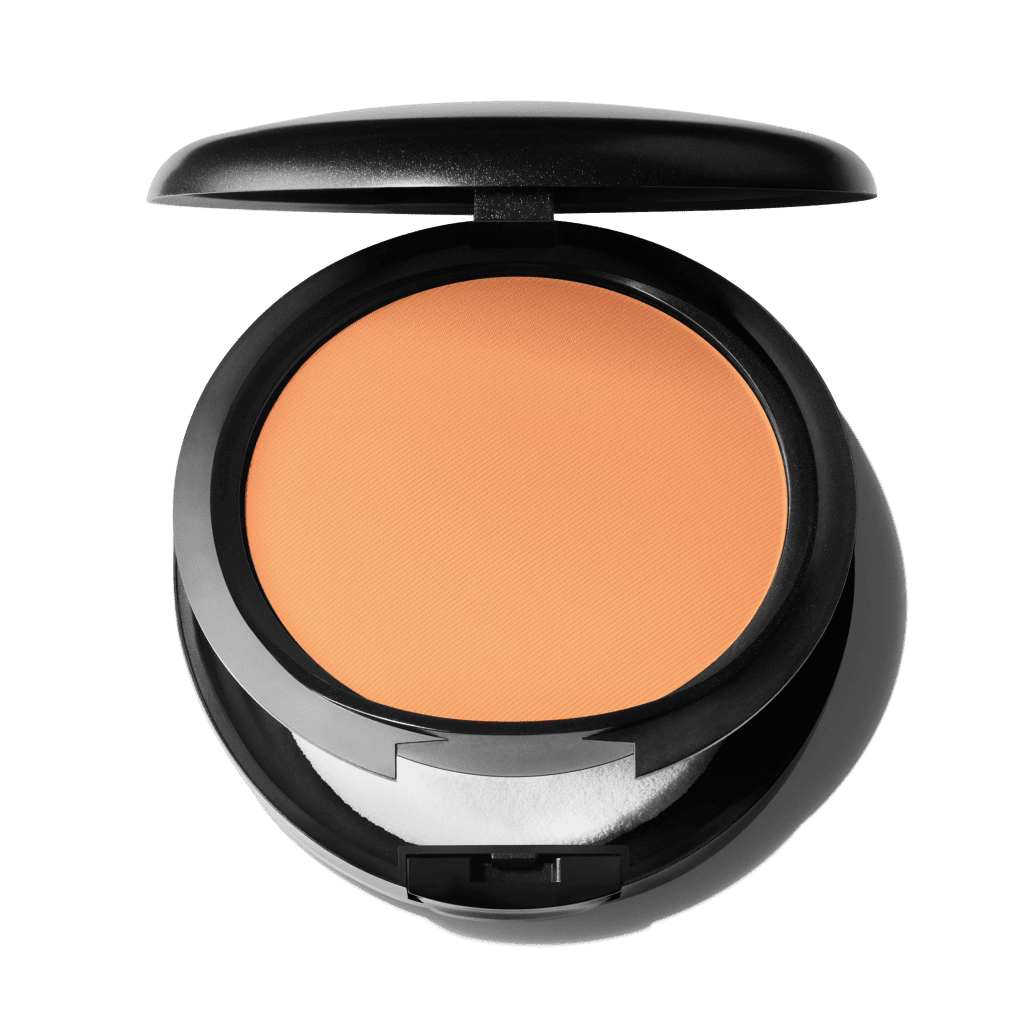
The next step is my base foundation which is MAC MW 25 cream foundation.
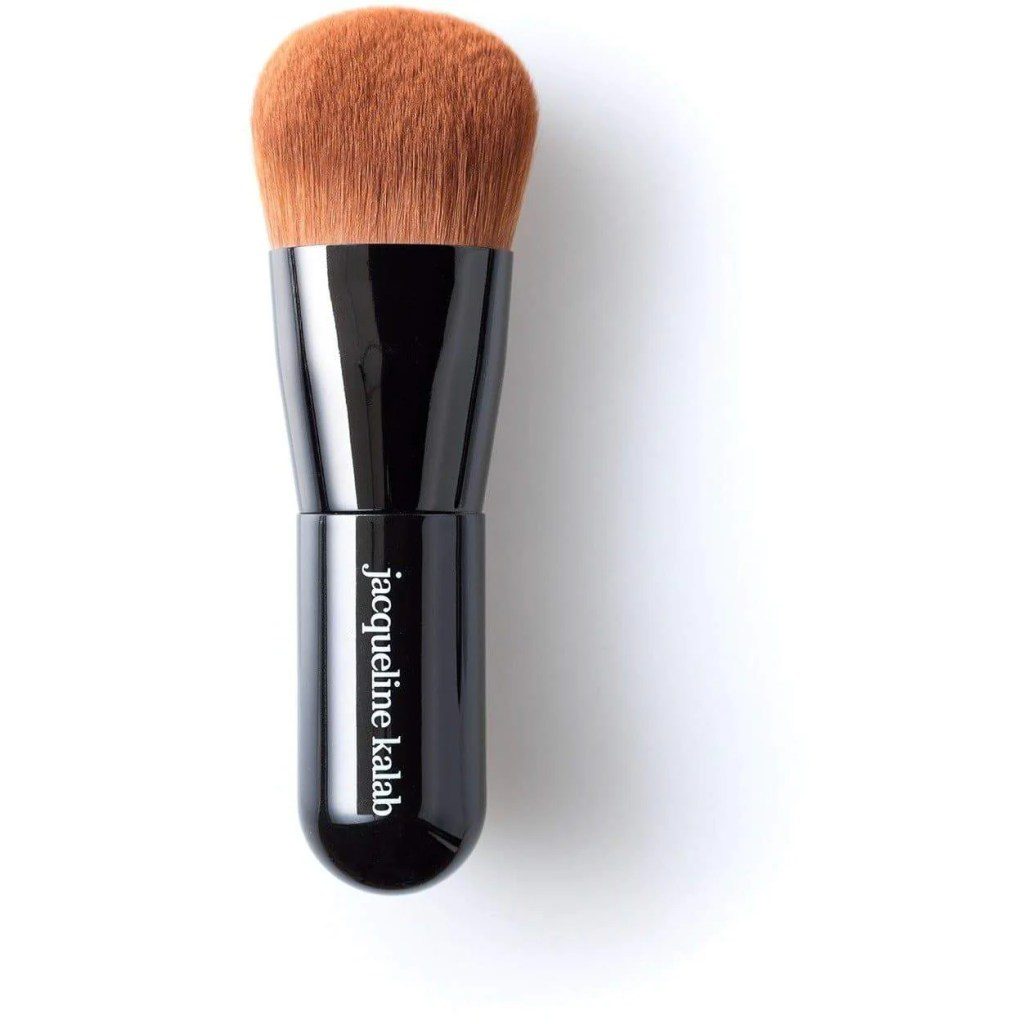
I use a Jacqueline Kalab Beauty brush I bought on Amazon to apply the cream foundation in a circling motion where ever I can get there.
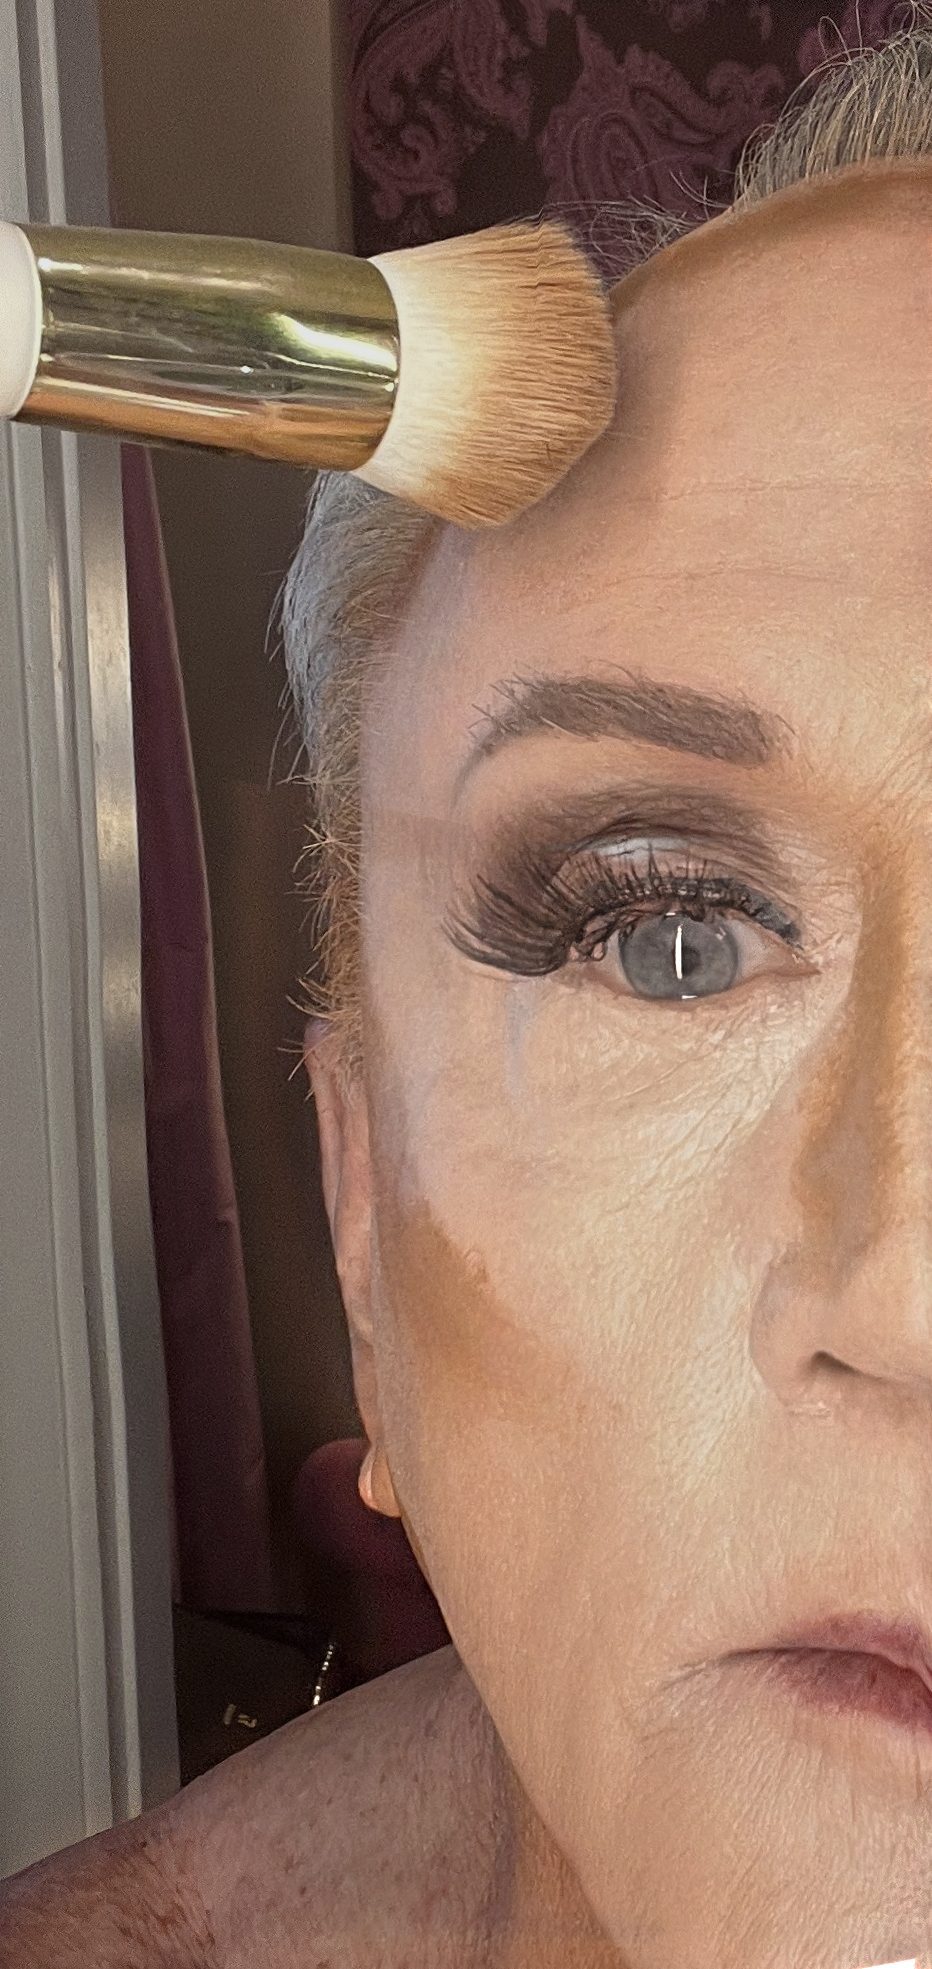
Once my face is completely covered and it is smoothed in I start the contouring process with my darker shade of cream foundation MW 40.
I apply the contour cream with a double ended brush that allows me to apply it exactly where I want to with the small end I use a dabbing motion to sort of dot it along the line I want. I them then blend in with the larger other side using a light dabbing motion again to smooth the product.

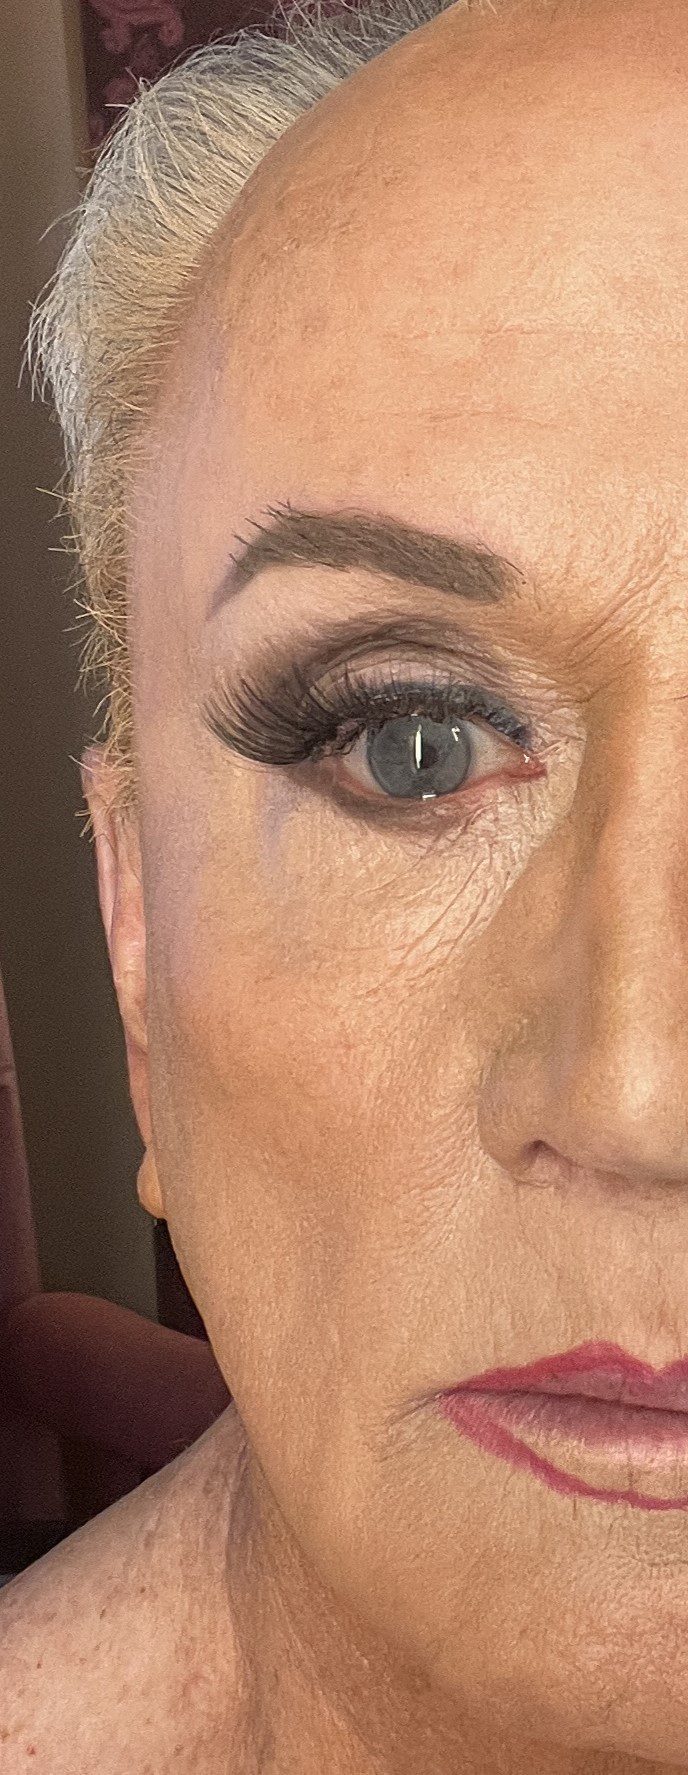
Contouring allows you to change the overall shape of you face especially in soft or amber lighting like inside restaurants or evenings. The darker contour color downplays those features while the lighter tends to move that area forward. The goal below is to make my face appear smaller by bringing attention to the smaller light area. The dark area on the cheeks makes the light area more prominent giving the high cheekbone impression. The nose looks narrower when the sides are dark and the light center prominent. Finally you can see just a hint of a dark line below the ear which you can’t see in this view but extends from before the ear just above the jaw bone over the Jowell down to the chin. Before blending I look like a witch doctor but after the blending it looks great.

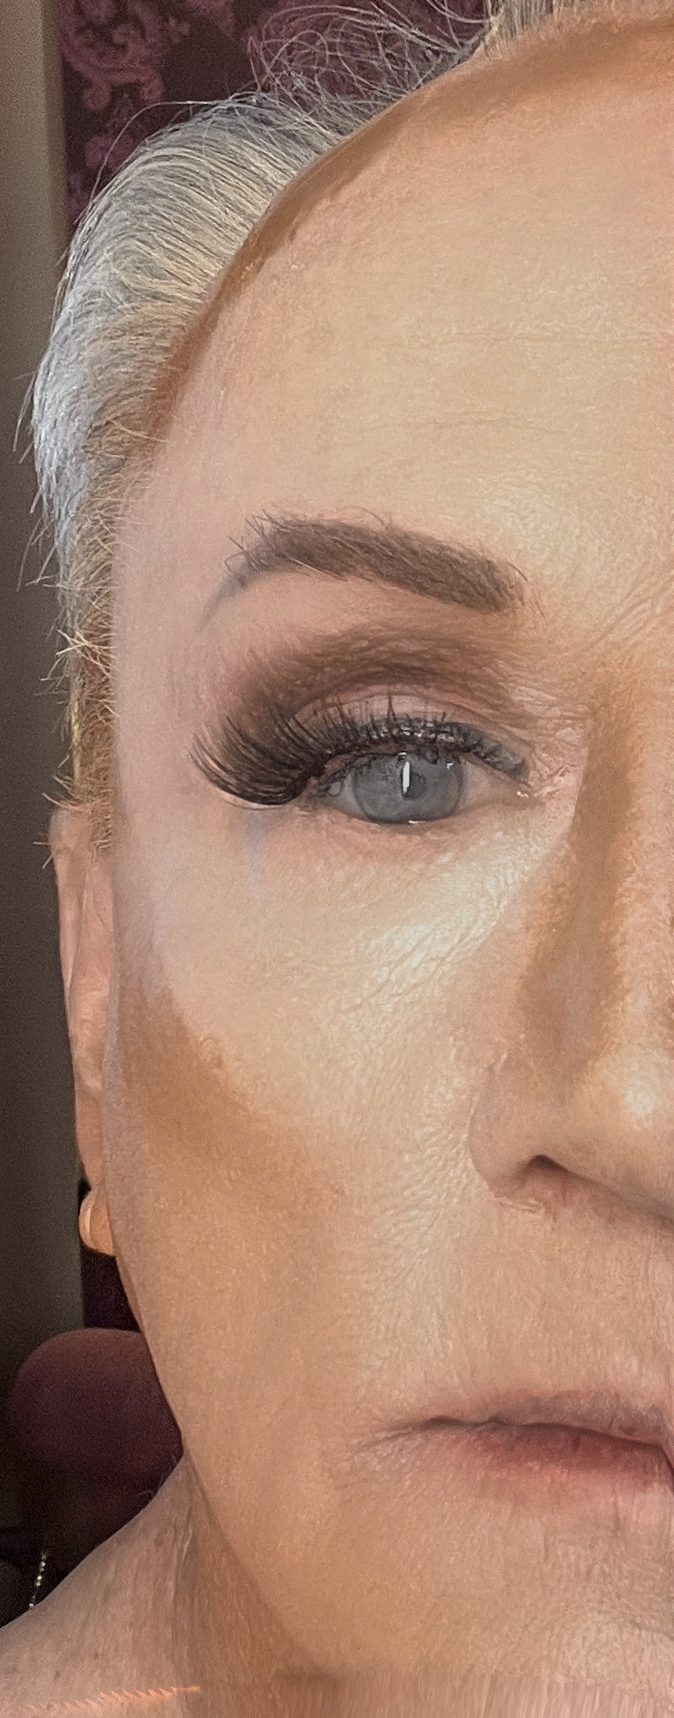
The above pictures were taken 6 inches from the phone so you can see the different angles of my natural lashes vs. the false ones. That goes away when the mascara is applied and then pinched with the eyelash curler.
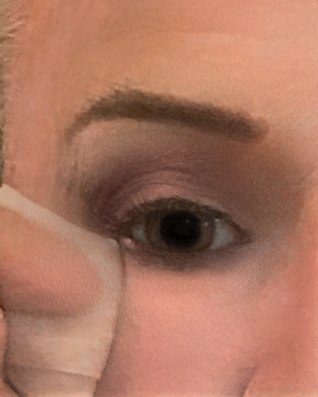
The witch doctor look goes away as I start the blending process with the special blending brush above.

I use the Ogee blender brush purchased on Amazon using a dabbing motion at first followed by strokes as needed. The dabbing spreads the product out slightly without removing any while the stokes are mainly to soften any hard lines see the photo below left.
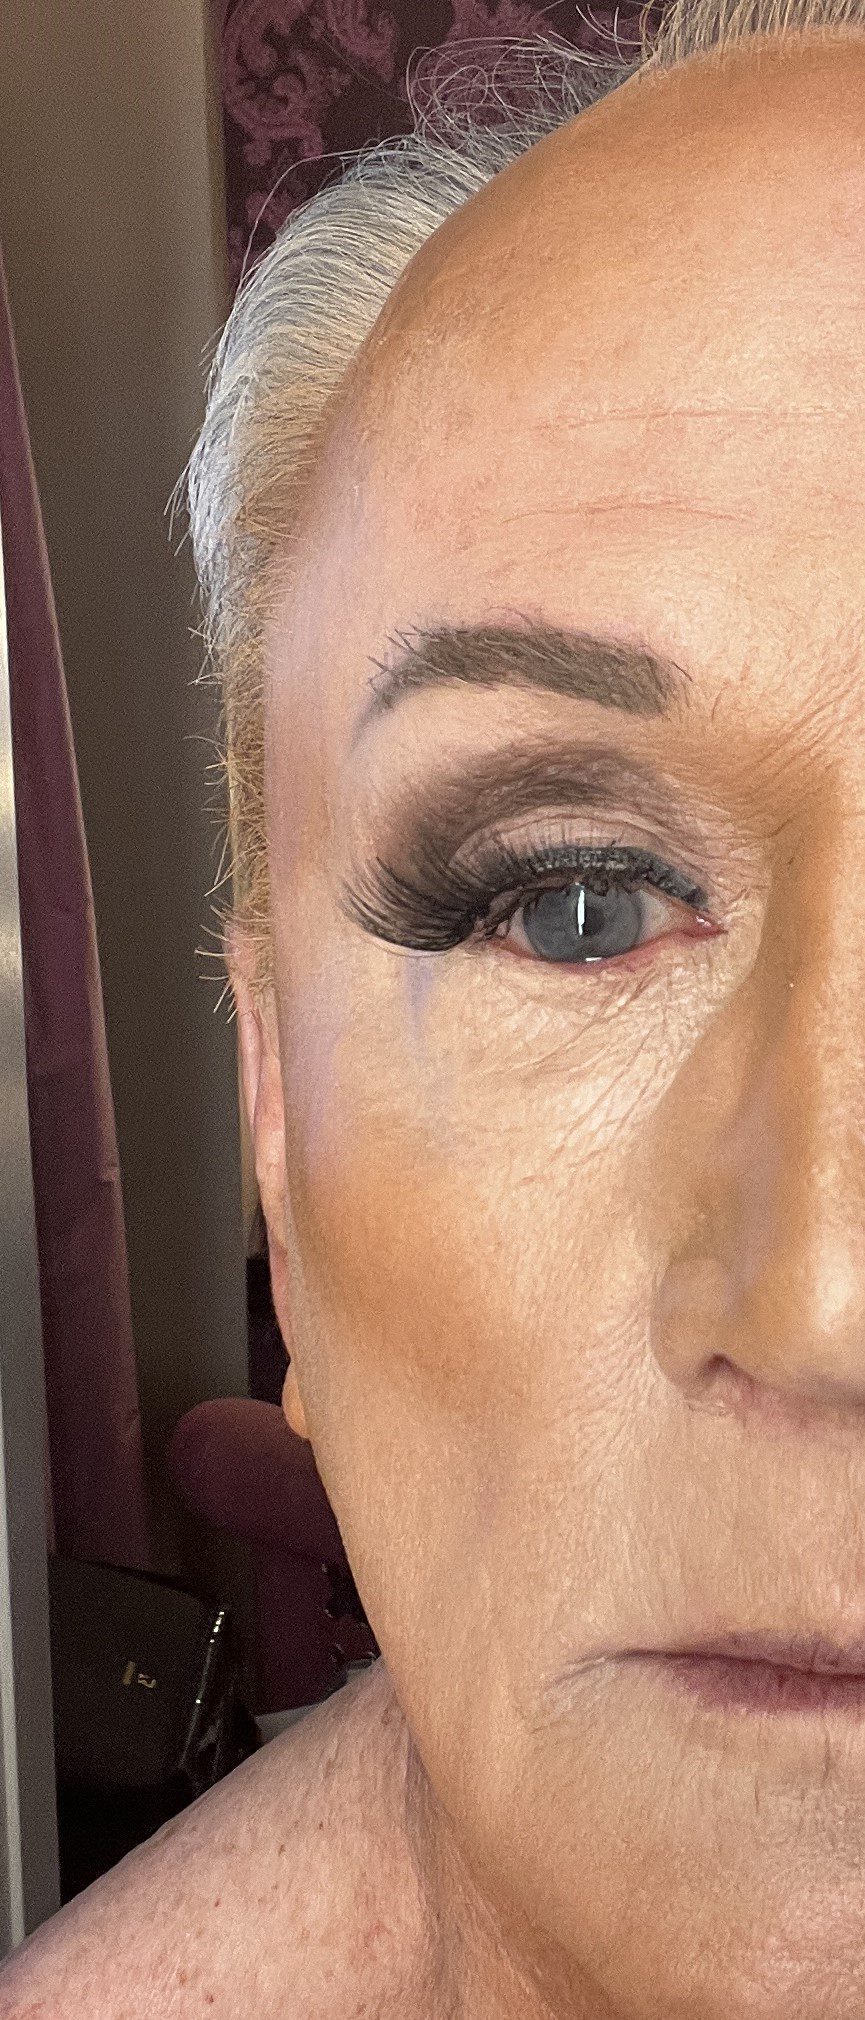
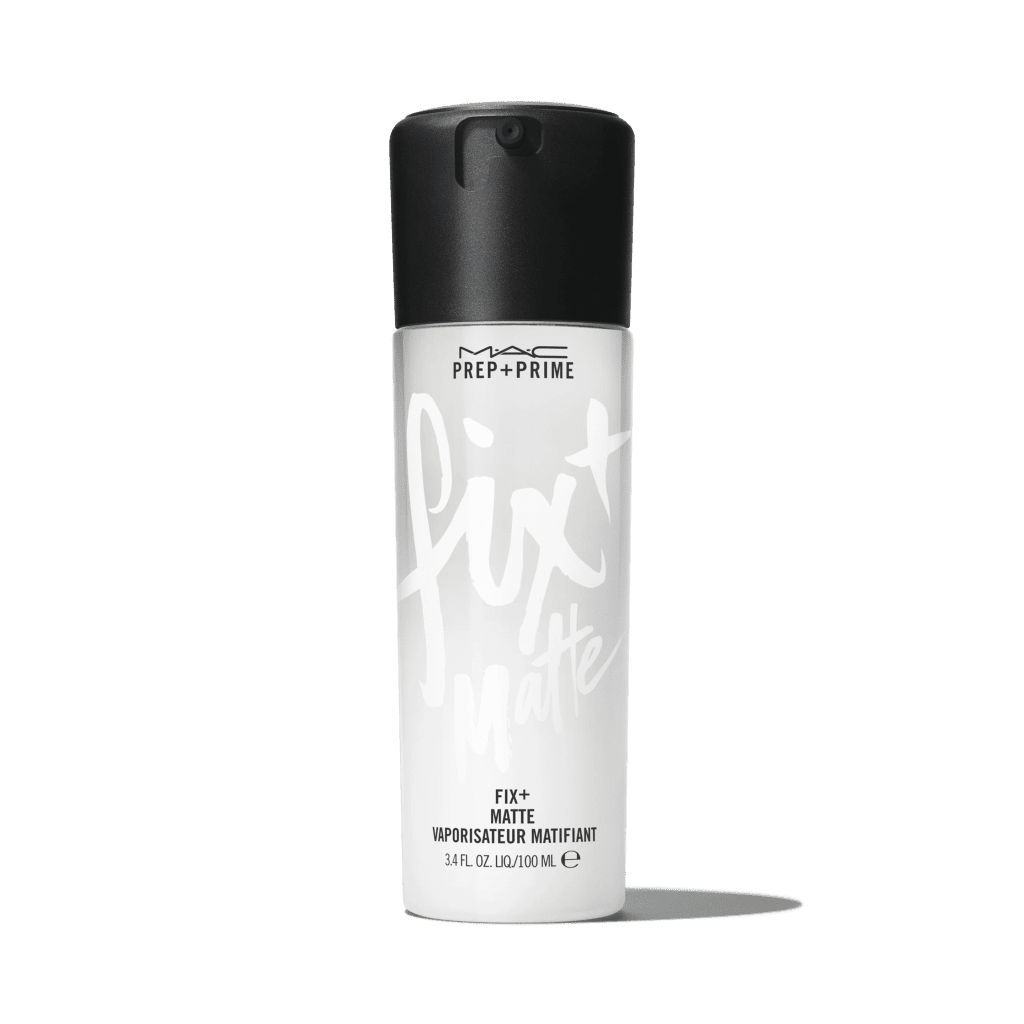
Assuming no touchups are required the next step is to spray my face lightly with the MAC Prep and Prime Matt Finish to set the makeup in place after dabbing with a damp sponge ball.

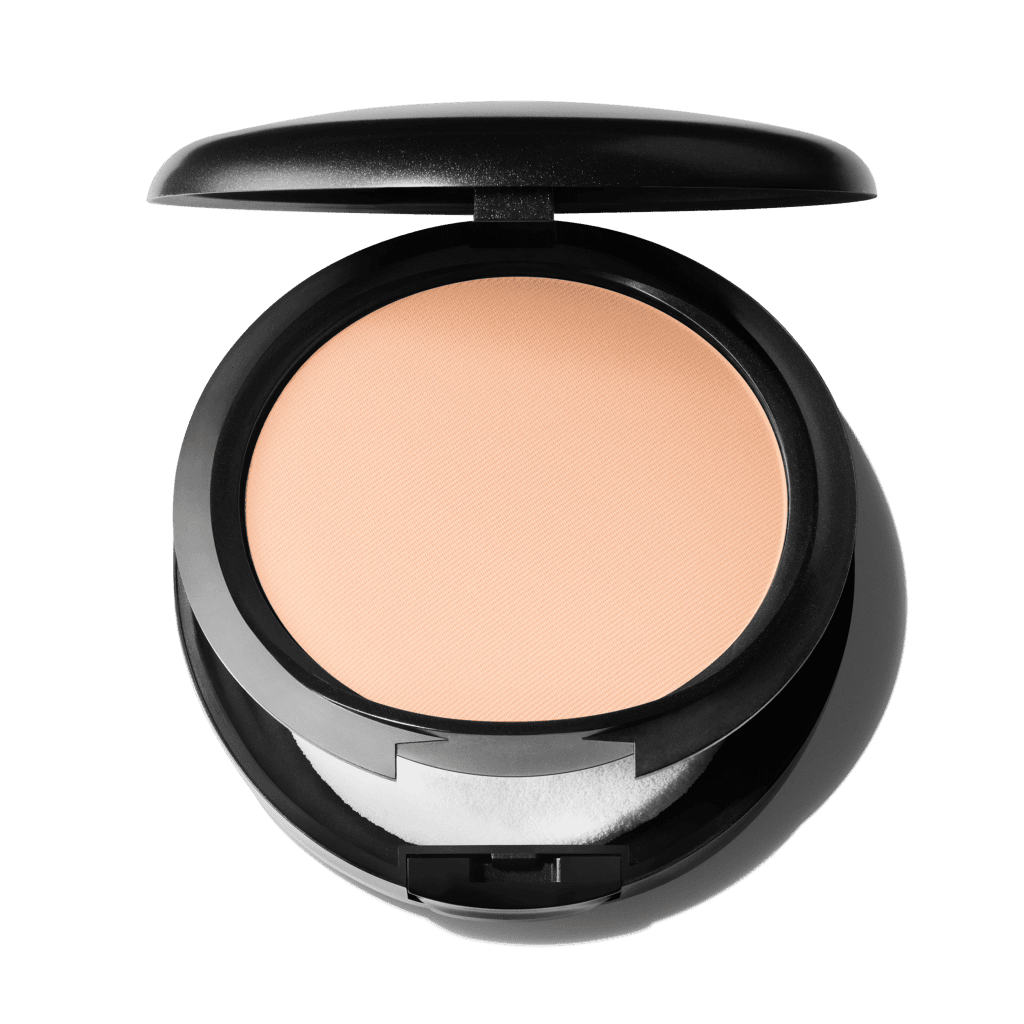
Once my face is dry finish with light dusting of Cinema Secrets translucent powder to finish the face portion of the process. The translucent powder softens the face without adding addition color and can be touched up during the evening with more translucent powder from a compact to eliminate any unwanted shine that creeps up.


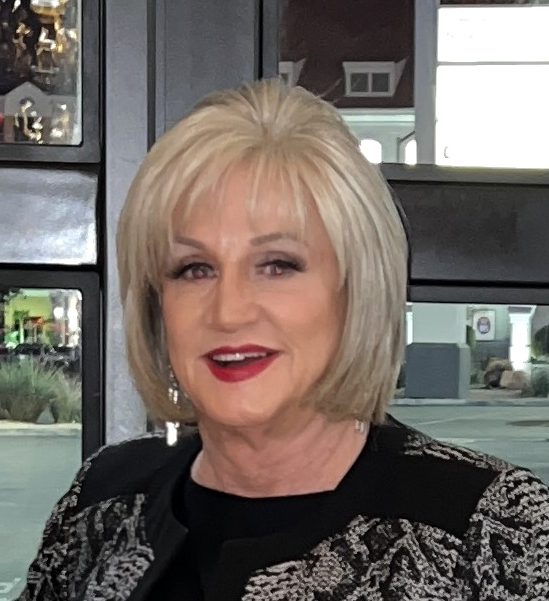
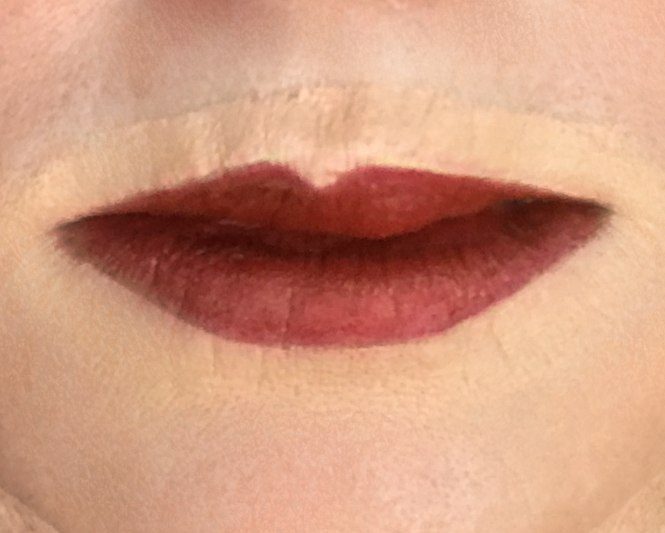
The lips are the last thing that I do and I have a separate section below on that process. The final product is the picture above right again from 6 inches away from the phone. The picture below is a better example of me going out the door.
CROSSDRESSER MAKEUP LIPS
Draw the shape that you want for your lips using the pencil. If you don’t like what you see do it again and again until get one you like. The outline will serve as a guide when you fill it in with your lipstick so should be fairly close to that shade.
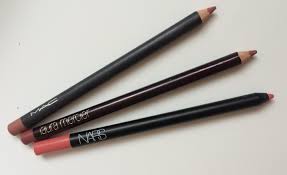
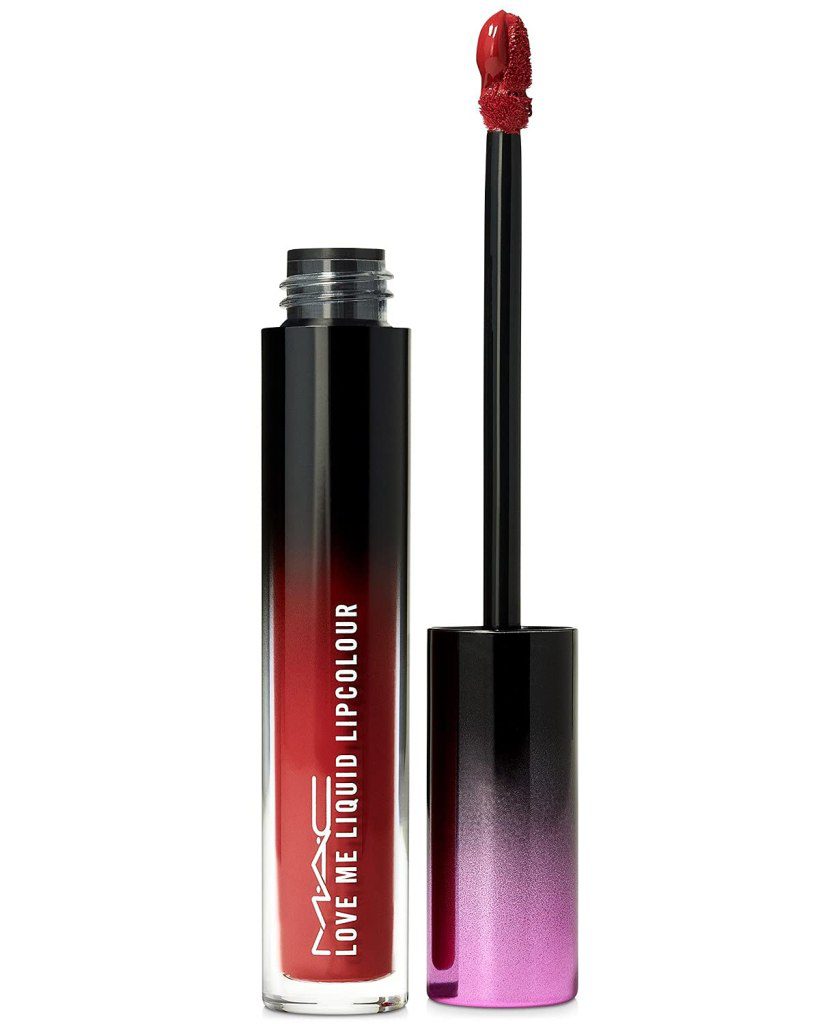
My go to lipstick which true to form MAC has discontinued is What A Doll pictured below and in the headshot above. The good news is I just bought 6 tubes from Amazon which gives me time to visit the MAC counter to find my new favorite.
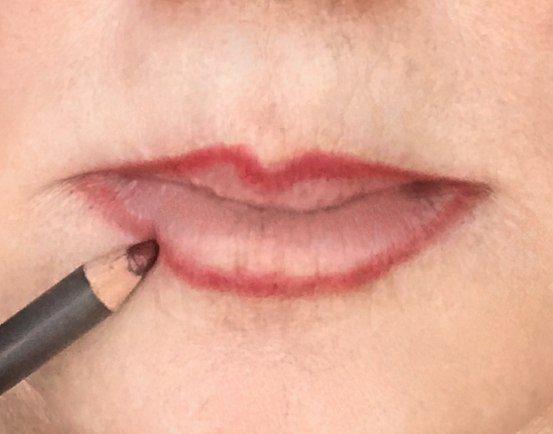
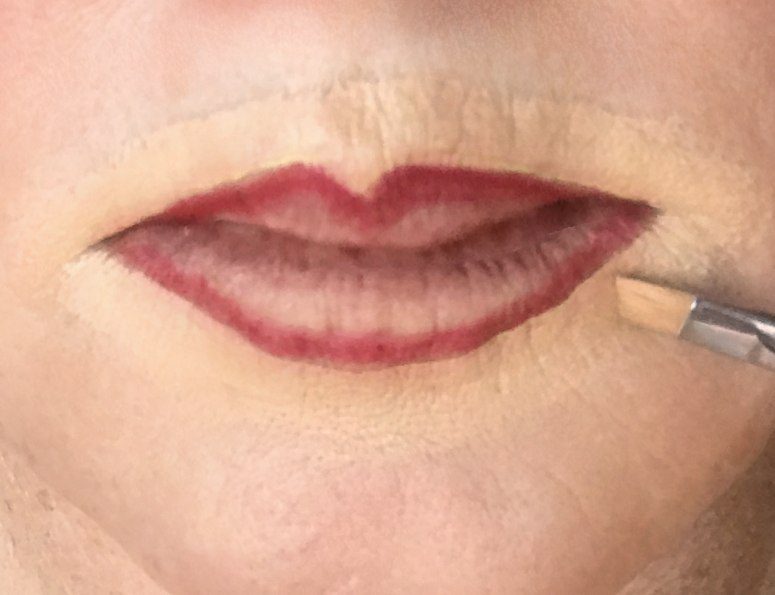
Using a concealer brush carefully go around the outside of your lipstick with concealer that matches your foundation color. Be careful not to put it on too thick because it will form a ridge where it meets the lipstick. You will use a blender sponge on this area later so don’t worry about the line blending at this point.
This is particularly helpful to us old gals because it keeps the lipstick from bleeding into the lines around your mouth. You know when you look like a vampire that just finished with someone!
I hope Micki Finn’s makeup for crossdressers is helpful for you and you are happy with the results. Please feel free to contact me with questions about any of the above items I know its a lot to take in. Afterall it took me years to develop my process and it continuously changes when new products are developed.
Hey im Susan cd and i found the above very helpful
Thanks Susan I appreciate your comment and am glad you find it helpful.
Best,
Micki
Thanks so much for sharing your makeup tips and the importance of daily facial maintenance.
I’ve been getting monthly facials and 6mth dermatology exams that have improved my facial health, wish I would have started at a younger age:)
Living in the desert ,my daily makeup is a combination of CC+ (SPF50) foundation and ISDIN Photo Broad Spectrum (SPF50).
Petra
Hi Petra,
As you have found out, your skin is resilient and you can make great improvements with the right process and maintenance programs.
Best,
Micki
Hello Micki and sincere apologies for arriving into your inbox unsolicited. Thank you for your most comprehensive and informative website, which I have stumbled upon and which is especially appropriate to my new needs. However, I note that you do not tend to cover any details considering more understated daytime make up, for shopping purposes etc. From what I can glean, It appears that mostly you tend to dress for the evening, so perhaps this does not concern you so much or perhaps you adjust accordingly (false eyelashes etc)? As a very mature dresser in the UK and having just re-enterred the arena after a very long absence, I would be interested in any comments as personally I will be geared more towards solus public daytime activity, and I now need to readjust to my age appropriate situation etc.
From my experience here in the U.K. many women tend not to wear any make up or make much effort when doing daily activities etc. However, clearly C.D’s always need to rely on make up for covering up our male attributes and especially if you are trying to present an elegant personna.
Thank you in advance for any thoughts and consideration you may be able to provide in the matter. It’s a delight to see and find someone so committed to the more mature end of the spectrum!
Best wishes.
Hi Ursula,
I use the same makeup day or night with the exception of a lighter color eye shadow and lipstick during the day. All of the contouring is done the same way I am not concerned with blending or passing which makes things much easier. It is not unheard of that some women wear a lot of makeup during the day especially the makeup artists at the big department stores.
Passing is impossible for me because I don’t disguise my voice and am larger than most women. What you see is what you get and I have never had any problems with people.
Best,
Micki
Thanks for your very swift response and I now understand!
Warmest regards,
Ursula